Securiti Launches Industry’s First Solution To Automate Compliance

View
Joomla

Integrate PrivacyCenter.cloud with Joomla

Most organizations understand just how important data compliance has become. Owing to the proliferation of data protection regulations worldwide, organizations must be proactive in undertaking efforts to ensure their practices align with regulatory requirements.

PrivacyCenter.cloud empowers organizations to accomplish just that via its centralized dashboard.

Each of the modules available in the platform, tailored to each user’s needs, is designed to ensure compliance in that particular area.

There are hundreds of privacy notice templates available to ensure an organization deploys a privacy notice that complies with the appropriate requirements while being fully capable of being dynamically edited in line with new requirements.

Similarly, the Do Not Sell or Share functionality allows users to seamlessly add a link to their site, allowing their customers to opt-out of having their data sold or shared. The Cookies Preferences section allows for the deployment and customization of the cookie banner in line with the regulatory requirements as well as the organization’s own banner preferences, while the Preference Center gives users some much-needed real-time insights into the consent status of each of their users.

Read on to learn more about how you can set it up:

Sign Up For PrivacyCenter.cloud

1

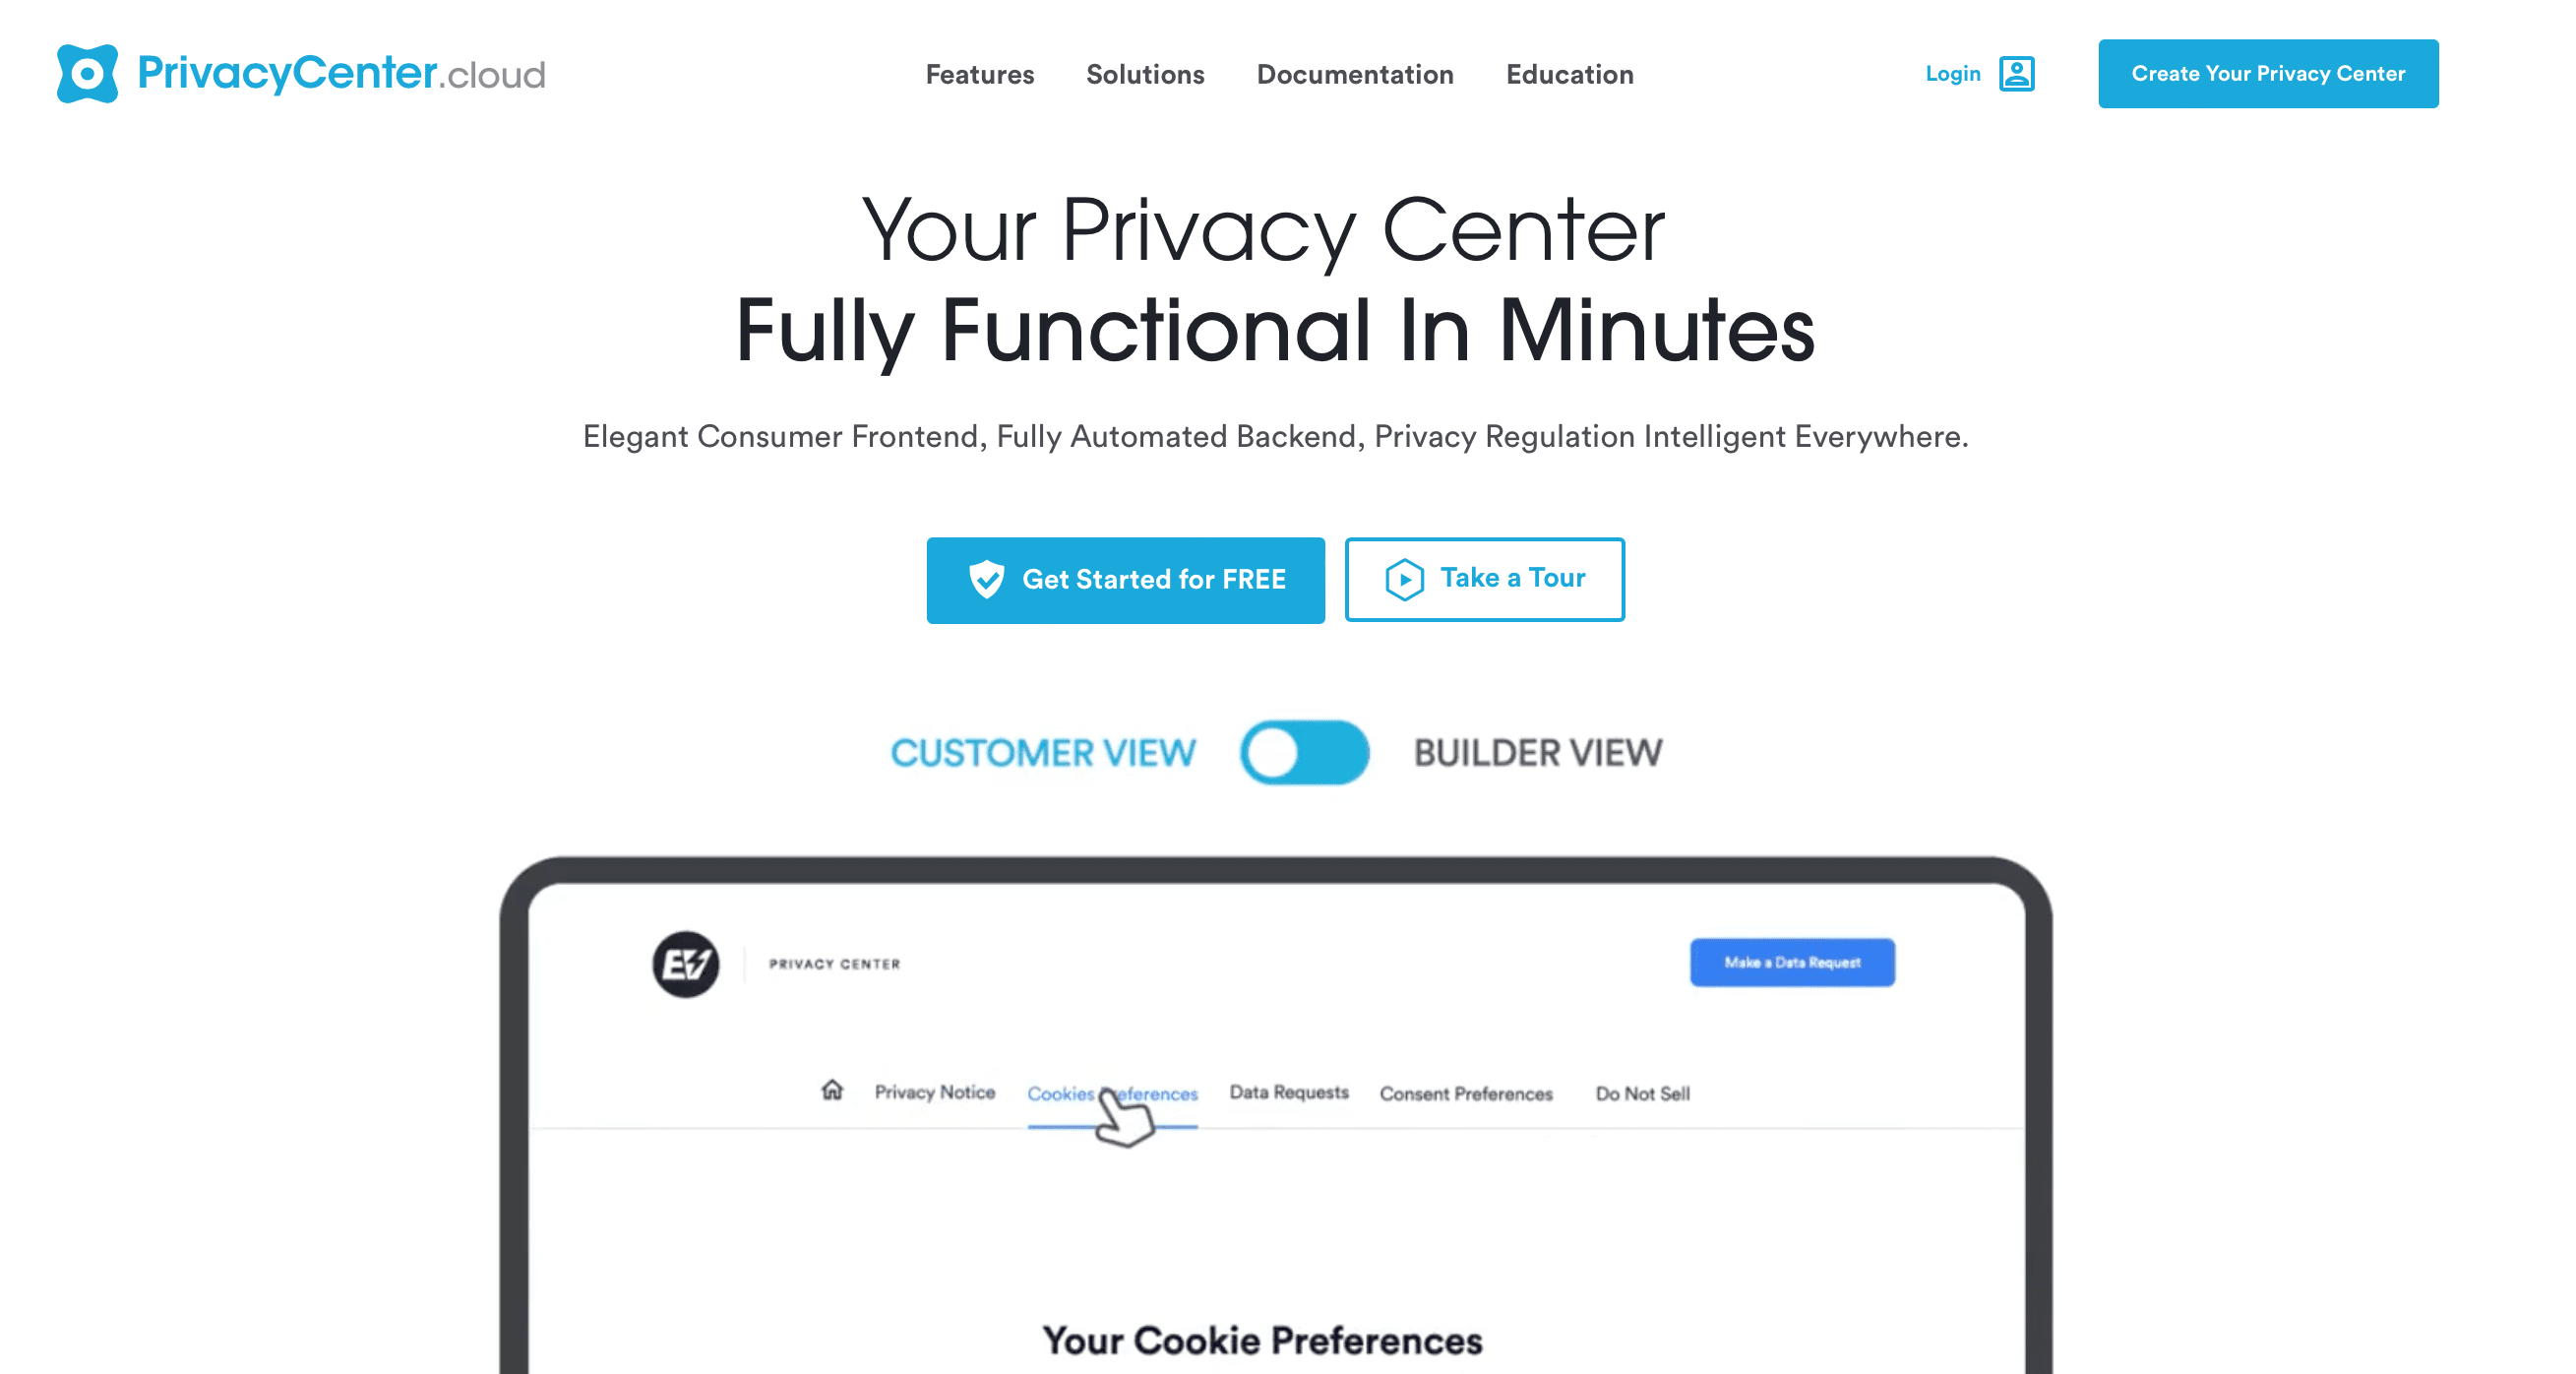
Head over to the Privacy Center homepage here;

Privacy Center Joomla Integration
2

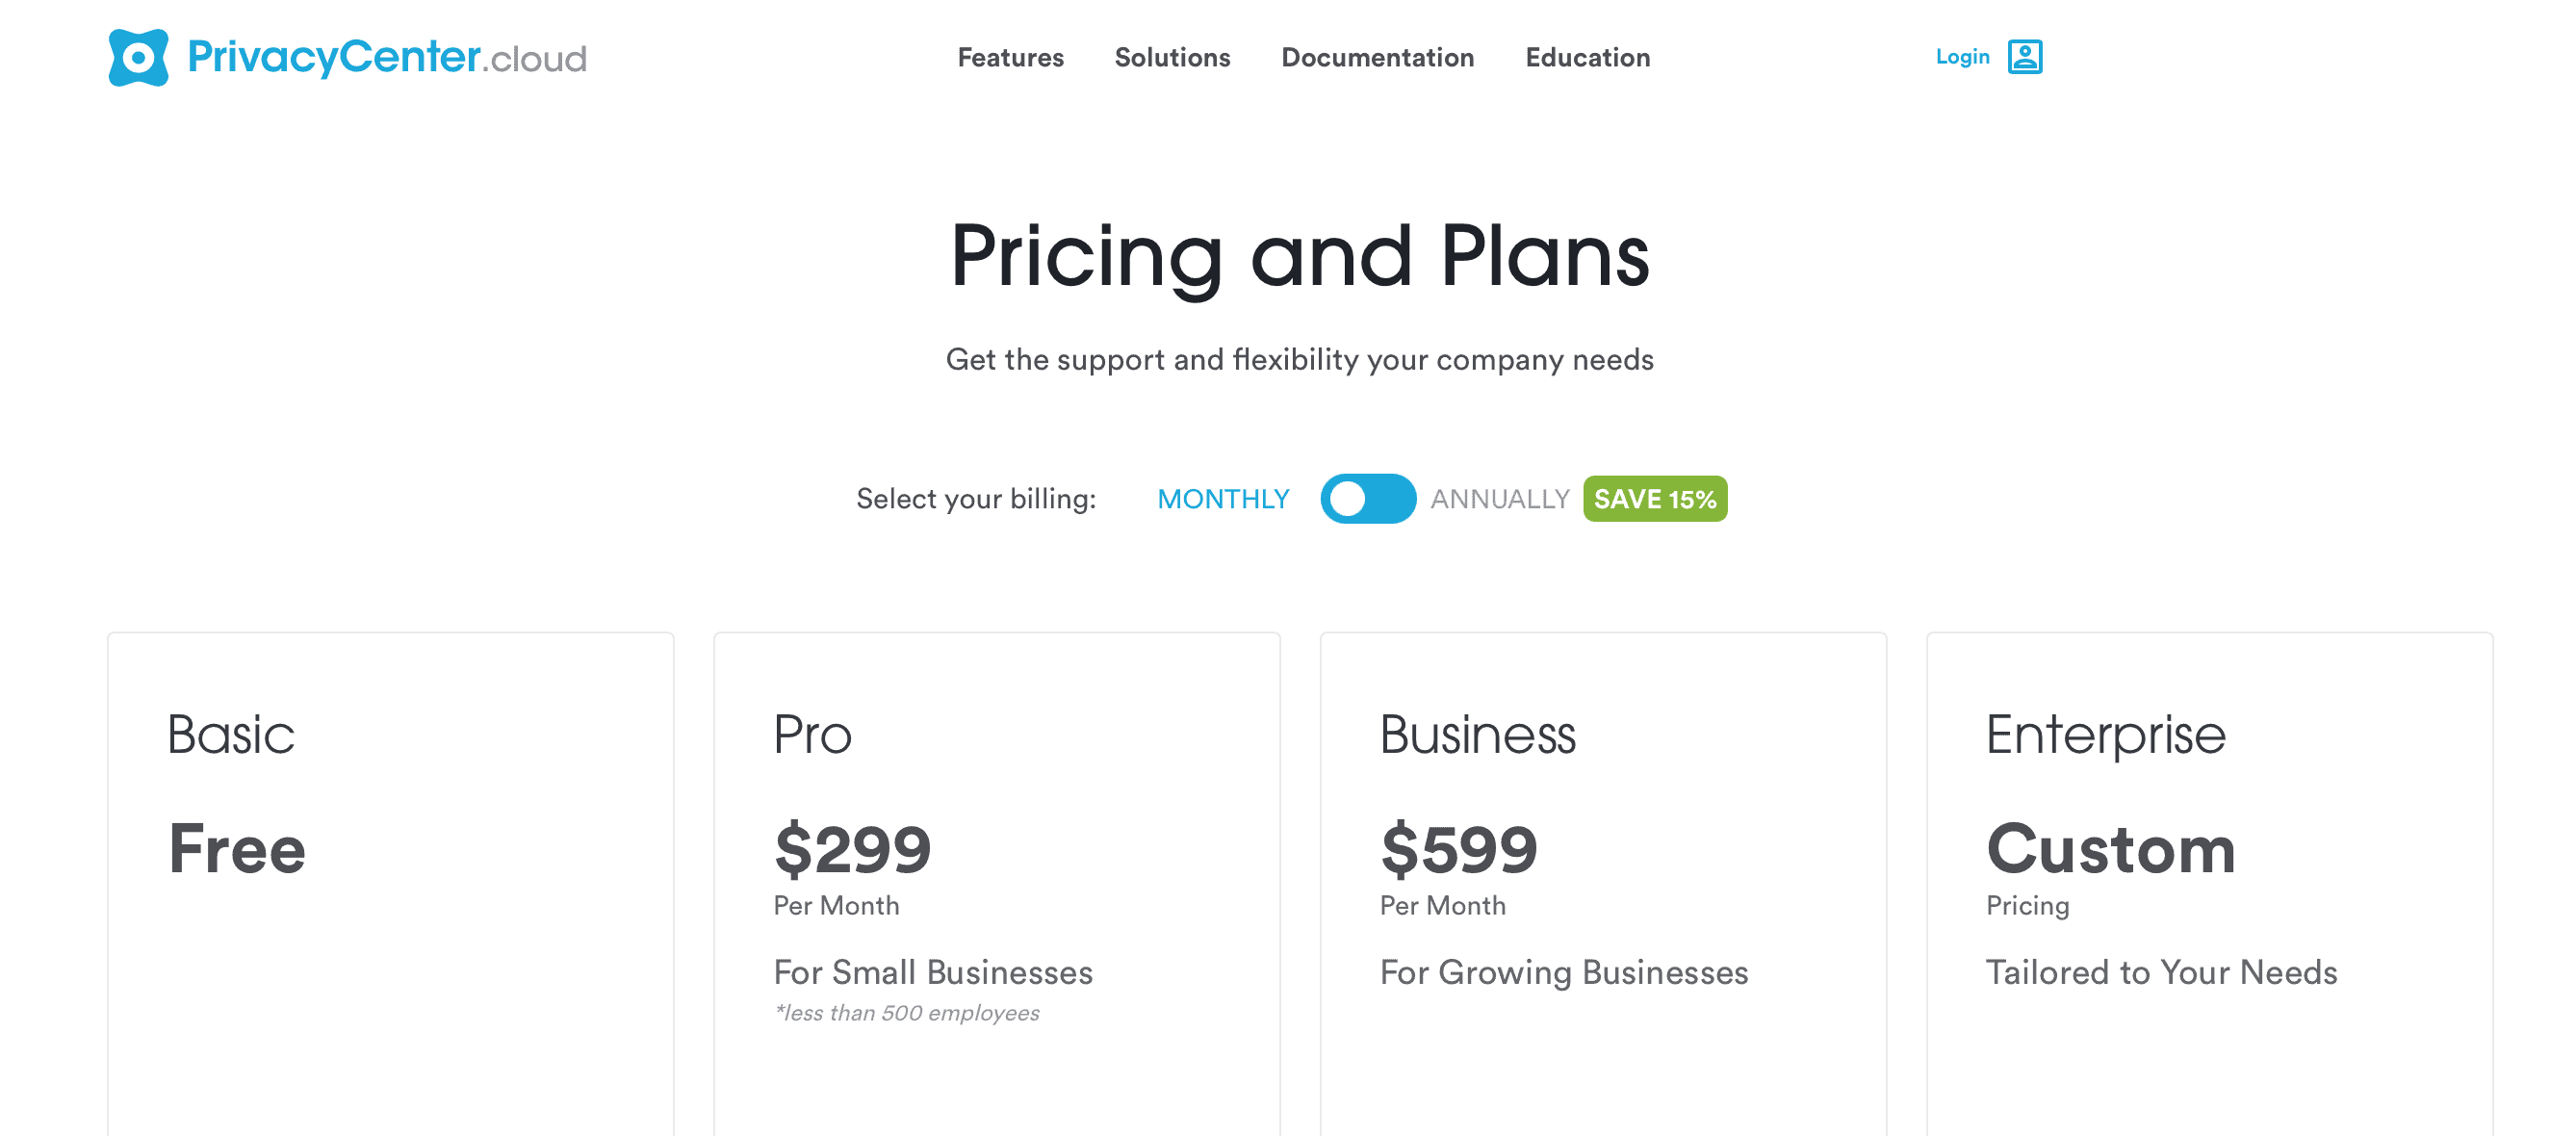
Select your preferred pricing and payment plan (You can change this later on);

Privacy Center Price and plans
3

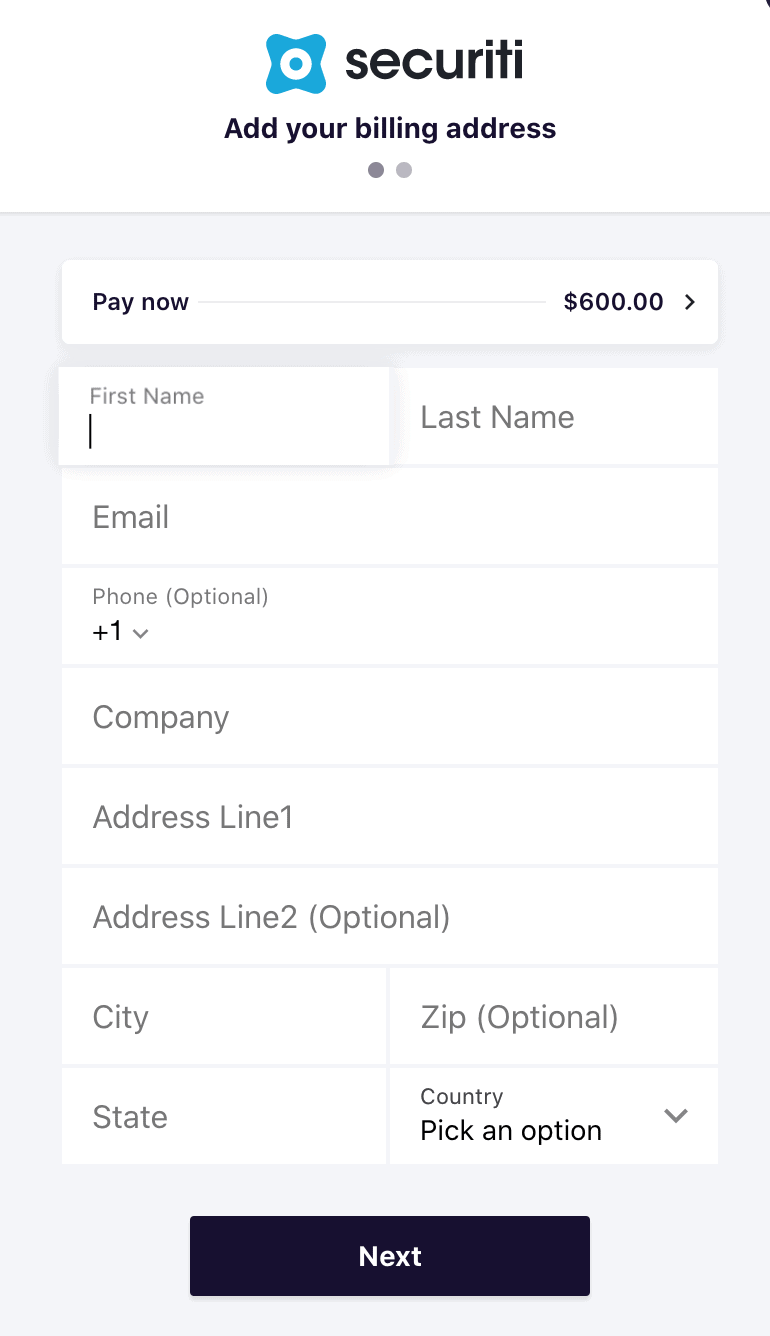
Now fill in relevant details about your website to complete the signup process;

privacy center billing details
4

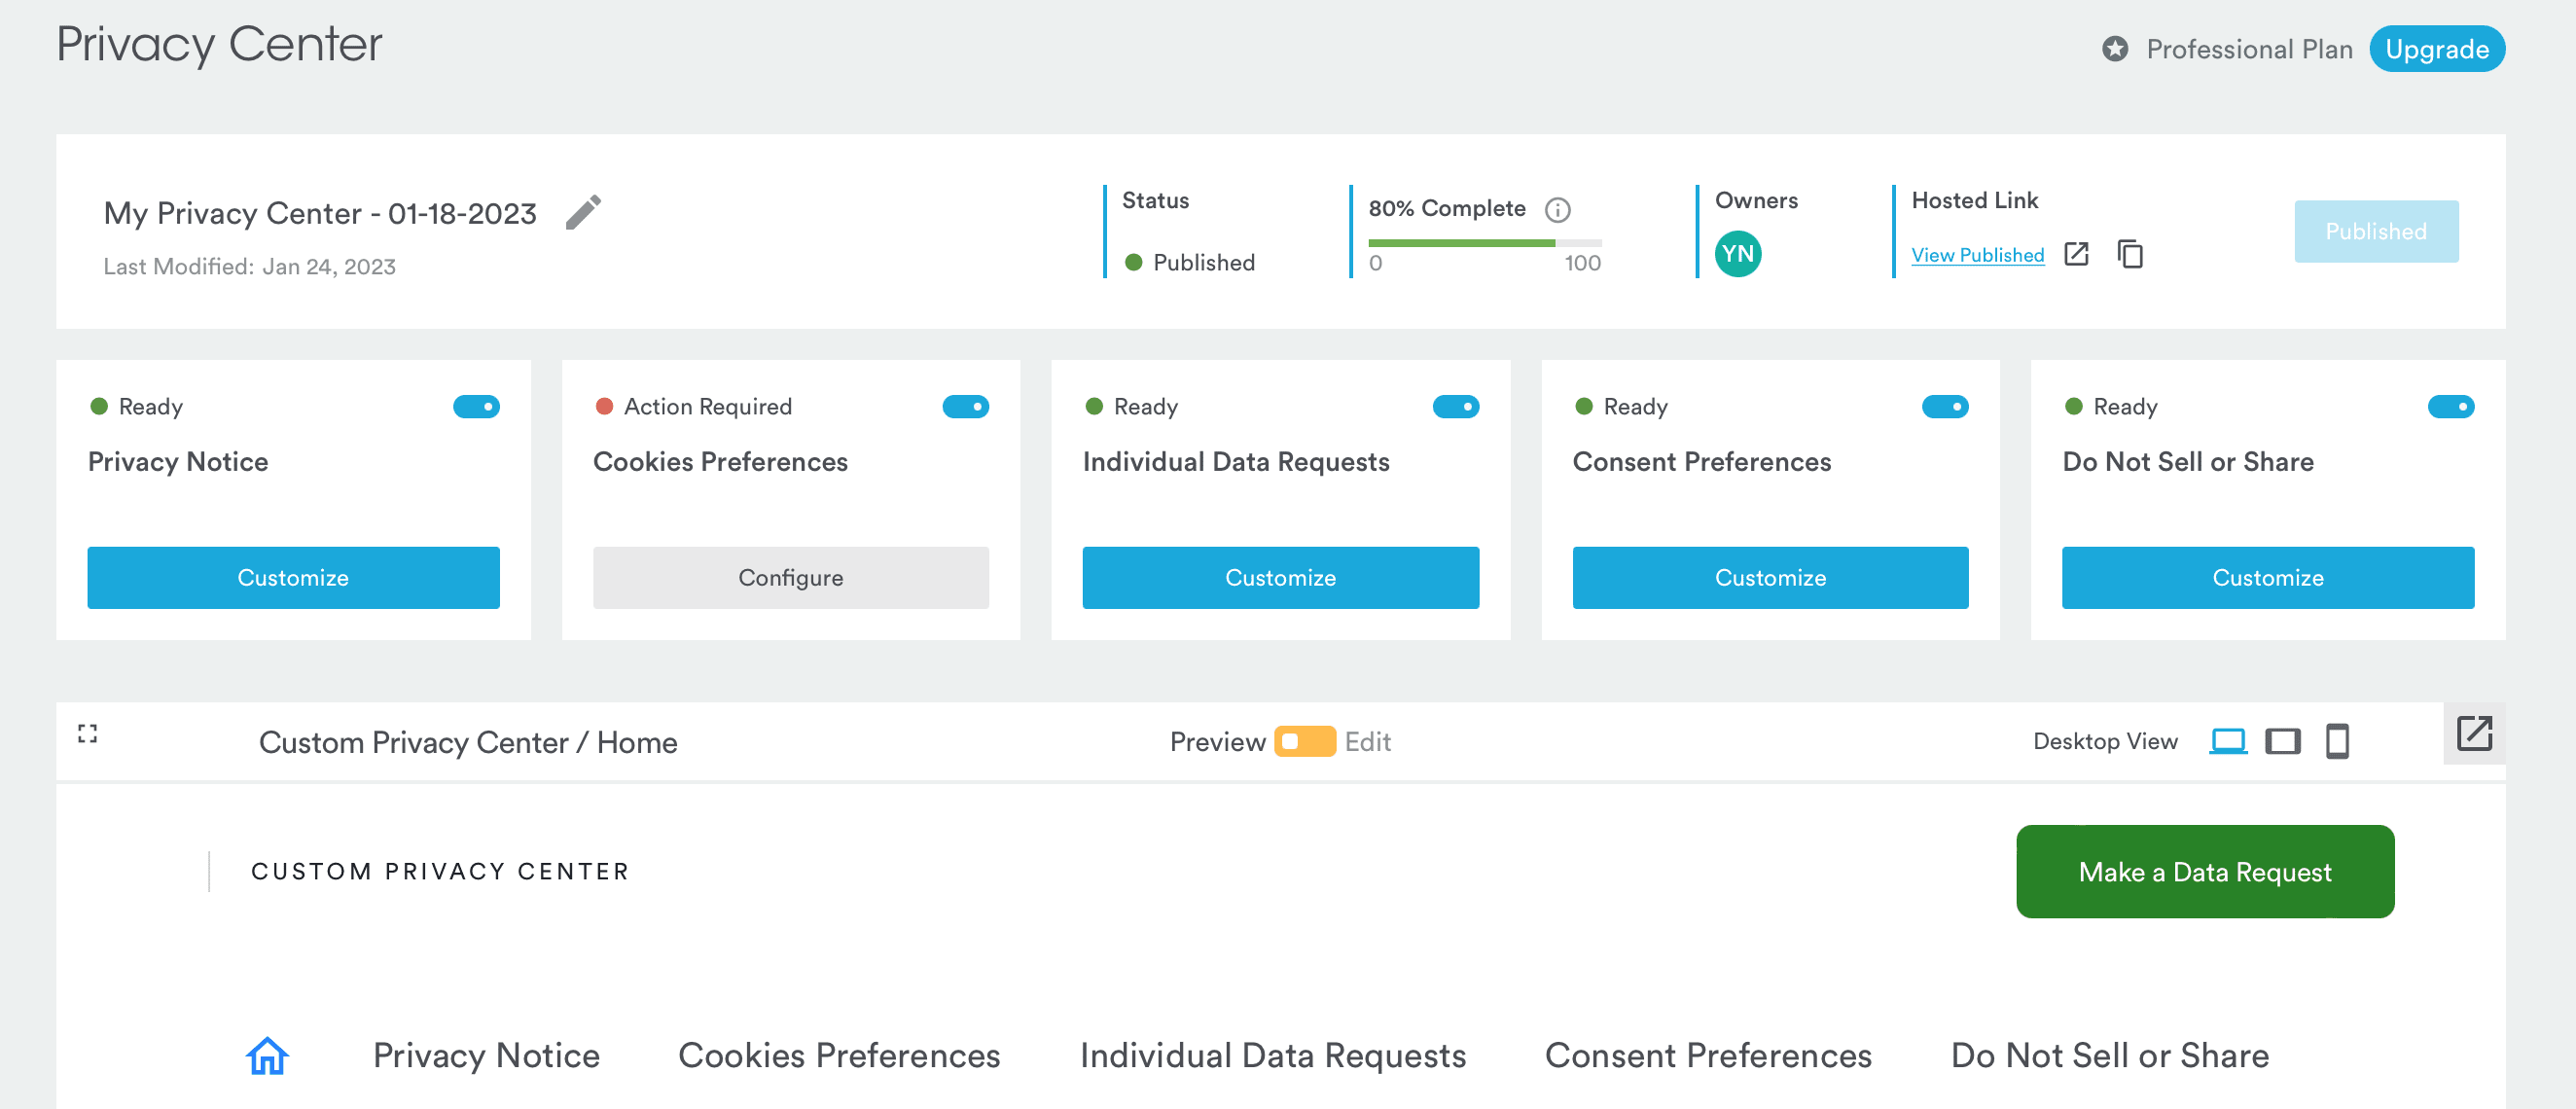
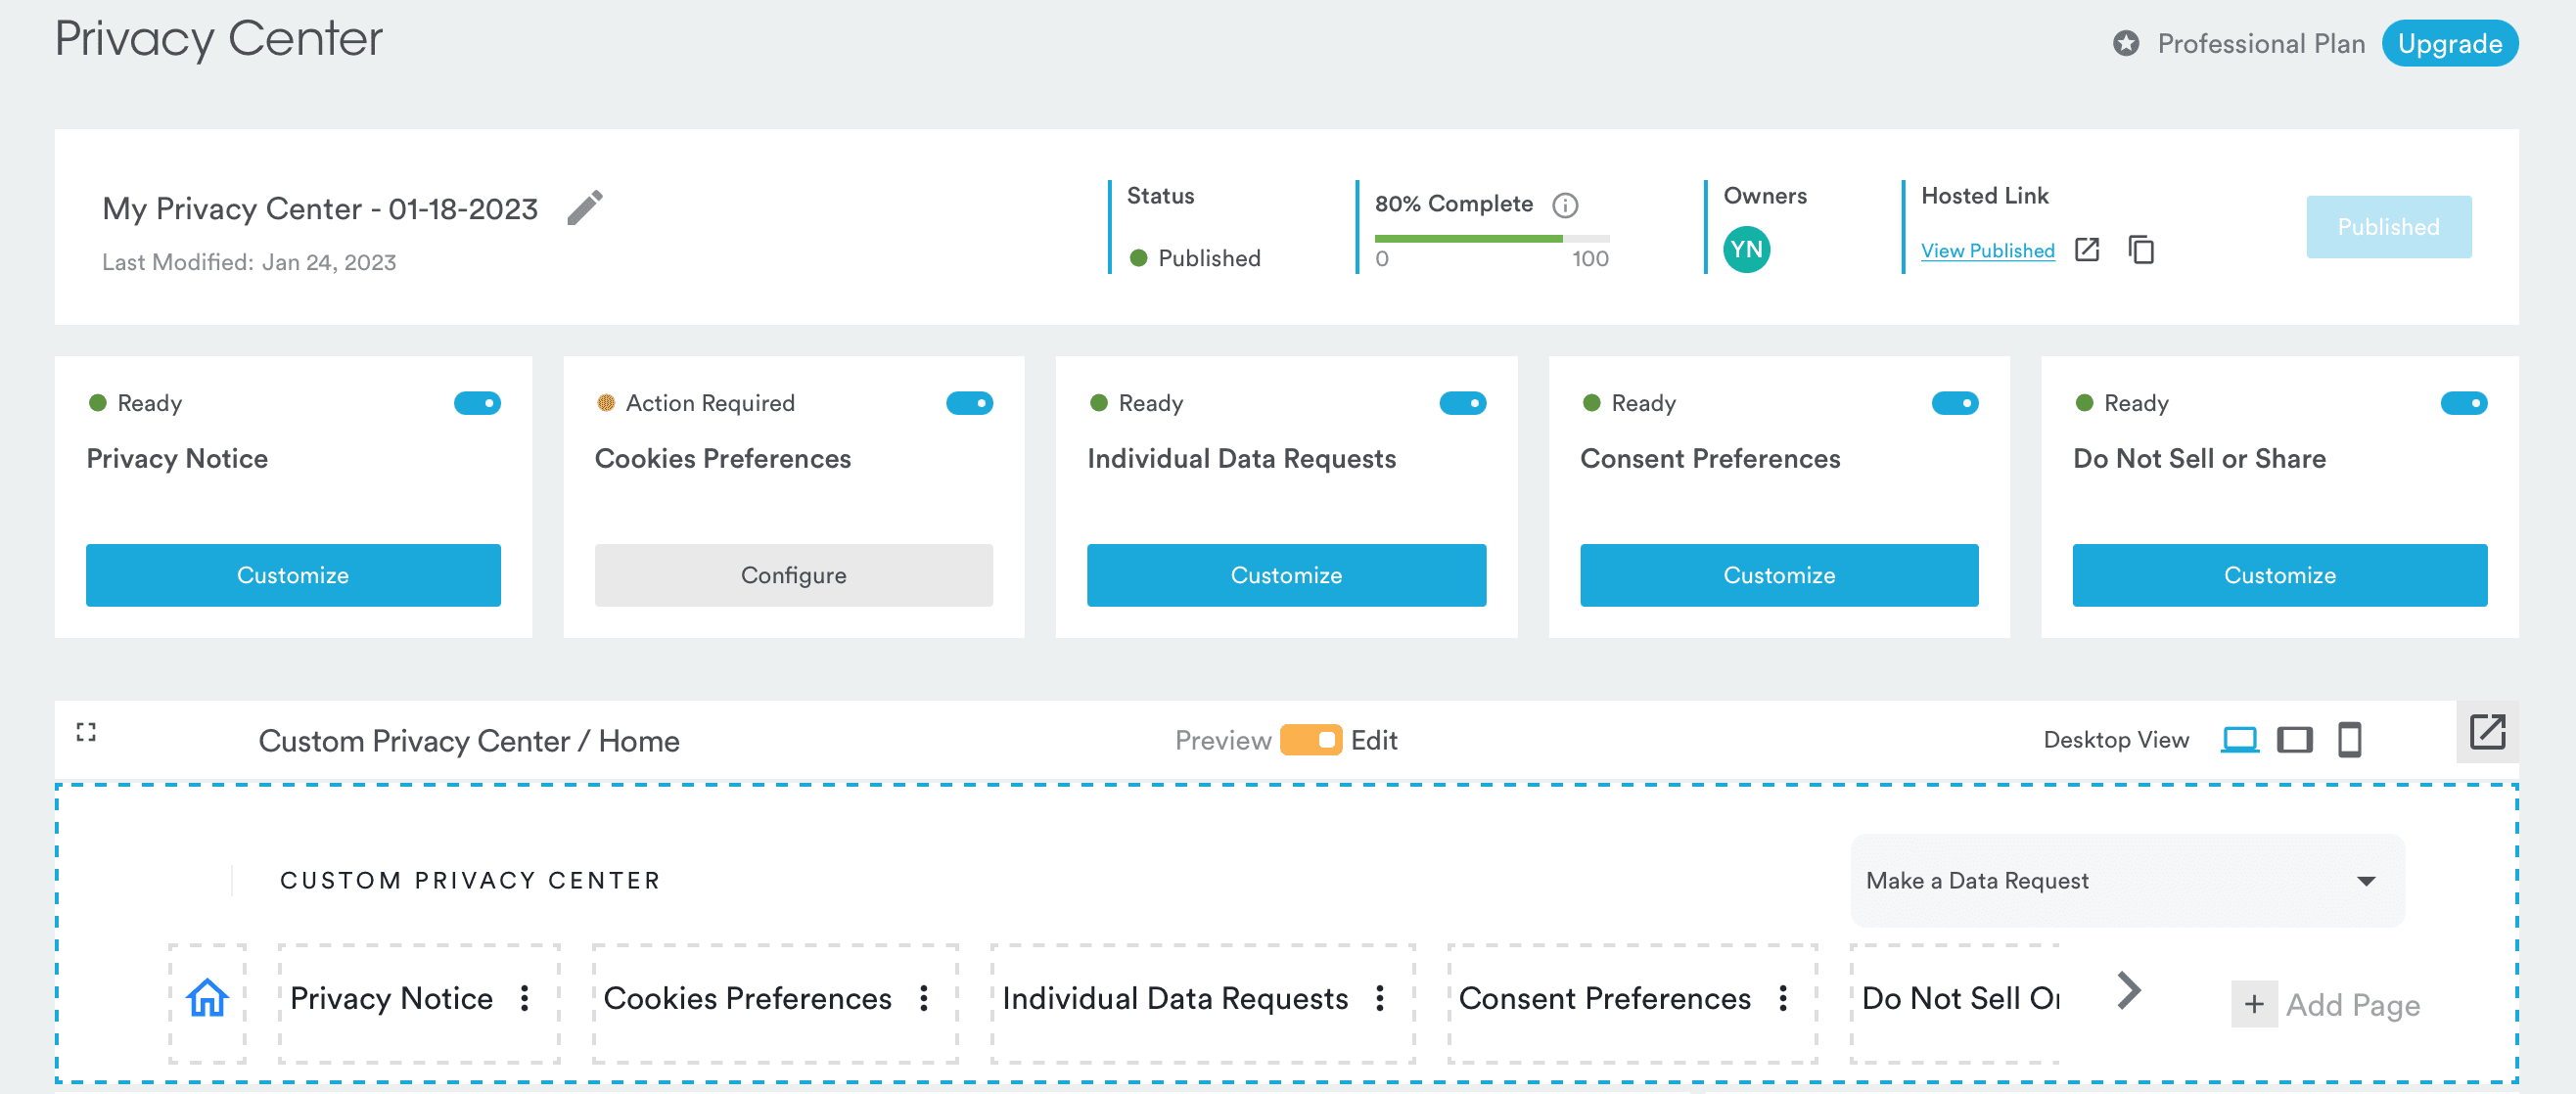
Your Privacy Center is all set up;

Privacy Center Dashboard
5

Make any additional changes or edits if necessary. Publish once satisfied to deploy the Privacy Center.

Privacy center configuration

Once signed up for the Privacy Center, you’ll need the Cookie Consent script to deploy the banner on your site. Here’s how to do it:

Set up Cookie Consent Banner On Your Site

Setting up the cookie consent banner on your site is fairly easy. Follow these instructions and you’ll be able to fully leverage the cookie consent management:

1

Create an account with Securiti’s Cookie Consent Management module and log in;

2

From the main Dashboard, click on Cookie Consent;

3

From here, click on +New Domain on the upper left side of the page;

4

Now, create a New Domain Group and enter the Domain Name you want to scan;

5

Switch to the Website Scan & Report tab, enter your website’s login info;

6

Now, check the Enable scan behind login checkbox, then enter the login information in the HTML Attributes and Login Details;

7

Click on Initiate Website Scan. This will give you a complete report of all the cookies on your domain;

8

Switch to the Categorize Cookies tab;

9

From the Cookie Categories dropdown menu on the left, enable, and edit the cookies on your domain per your needs;

10

Once done, click on Save, and then on Publish on the upper right corner;

11

Head to the Cookie Consent page with your domain listed and click on Preview under the Consent Banner column;

12

From here, navigate to the Consent Code tab to view the Head & Body of the cookie consent script (CSS) code.

At this point, you can use this CSS code to deploy directly to your Joomla store domain or toggle to other additional tabs, such as the Customize Banner & Preference Center, to alter other cookie banner-related details, such as translations and which geographical locations the banner is visible in. Additionally, from the Consent Frameworks tab, you can enable the Global Privacy Control (GPC) consent framework across your domain.

To help you understand all the steps in a visualized way, experts at Securiti have also created a brief configurational video guide on how to set up your privacy center in minutes.

  1. Privacy Center Overview
  2. Set up your Privacy Center homepage
  3. Configure your Organization's Privacy Notice
  4. Set up your Cookie Preference Center
  5. Set up Individual Data Requests page to collect and track DSR requests
  6. Set up your Consent Preference Center
  7. Add a new page as per your organizational needs
  8. Publish your Privacy Center

Now, you will need this Consent Code to deploy the cookie consent plugin for your Joomla site. To deploy the cookie consent plugin, follow these instructions:

1

Sign up for or login to your Joomla account;

2

Head over to the Joomla Control Panel;

3

Go to Extensions > Manage > Install;

4

Browse for the created file titled, “securiti_ai_cookie_consent.zip” and upload it;

5

Once the plugin is installed, go to Extensions > Plugins;

6

Search for “cookie”;

7

Click Cookie Consent by Securiti;

8

Now, click the Plugin tab and paste the CSS code generated earlier;

9

Change the Status on the right-hand side to Enabled;

10

Click Save;

11

To verify that the banner has been deployed, preview the site from the upper-right corner.

Follow