Securiti Launches Industry’s First Solution To Automate Compliance

View
Shopify

How to Integrate Privacy Center with Shopify

More and more countries have either drafted or are in the process of drafting their data privacy regulations. Such regulations not only ensure users’ data with adequate protection but places several obligations and responsibilities upon the organizations collecting this data to provide this protection.

Manually attempting to comply with such regulatory requirements would put a tremendous strain on organizations’ resources. Hence, automation represents a highly effective and efficient alternative. Privacy Center aims to do just that. Easy to set up and deploy, it helps organizations comply with their notice management, data rights requests, Do Not Sell requests, and cookie management obligations via a centralized platform.

Here’s how you can get started:

Signing Up For Privacy Center

1

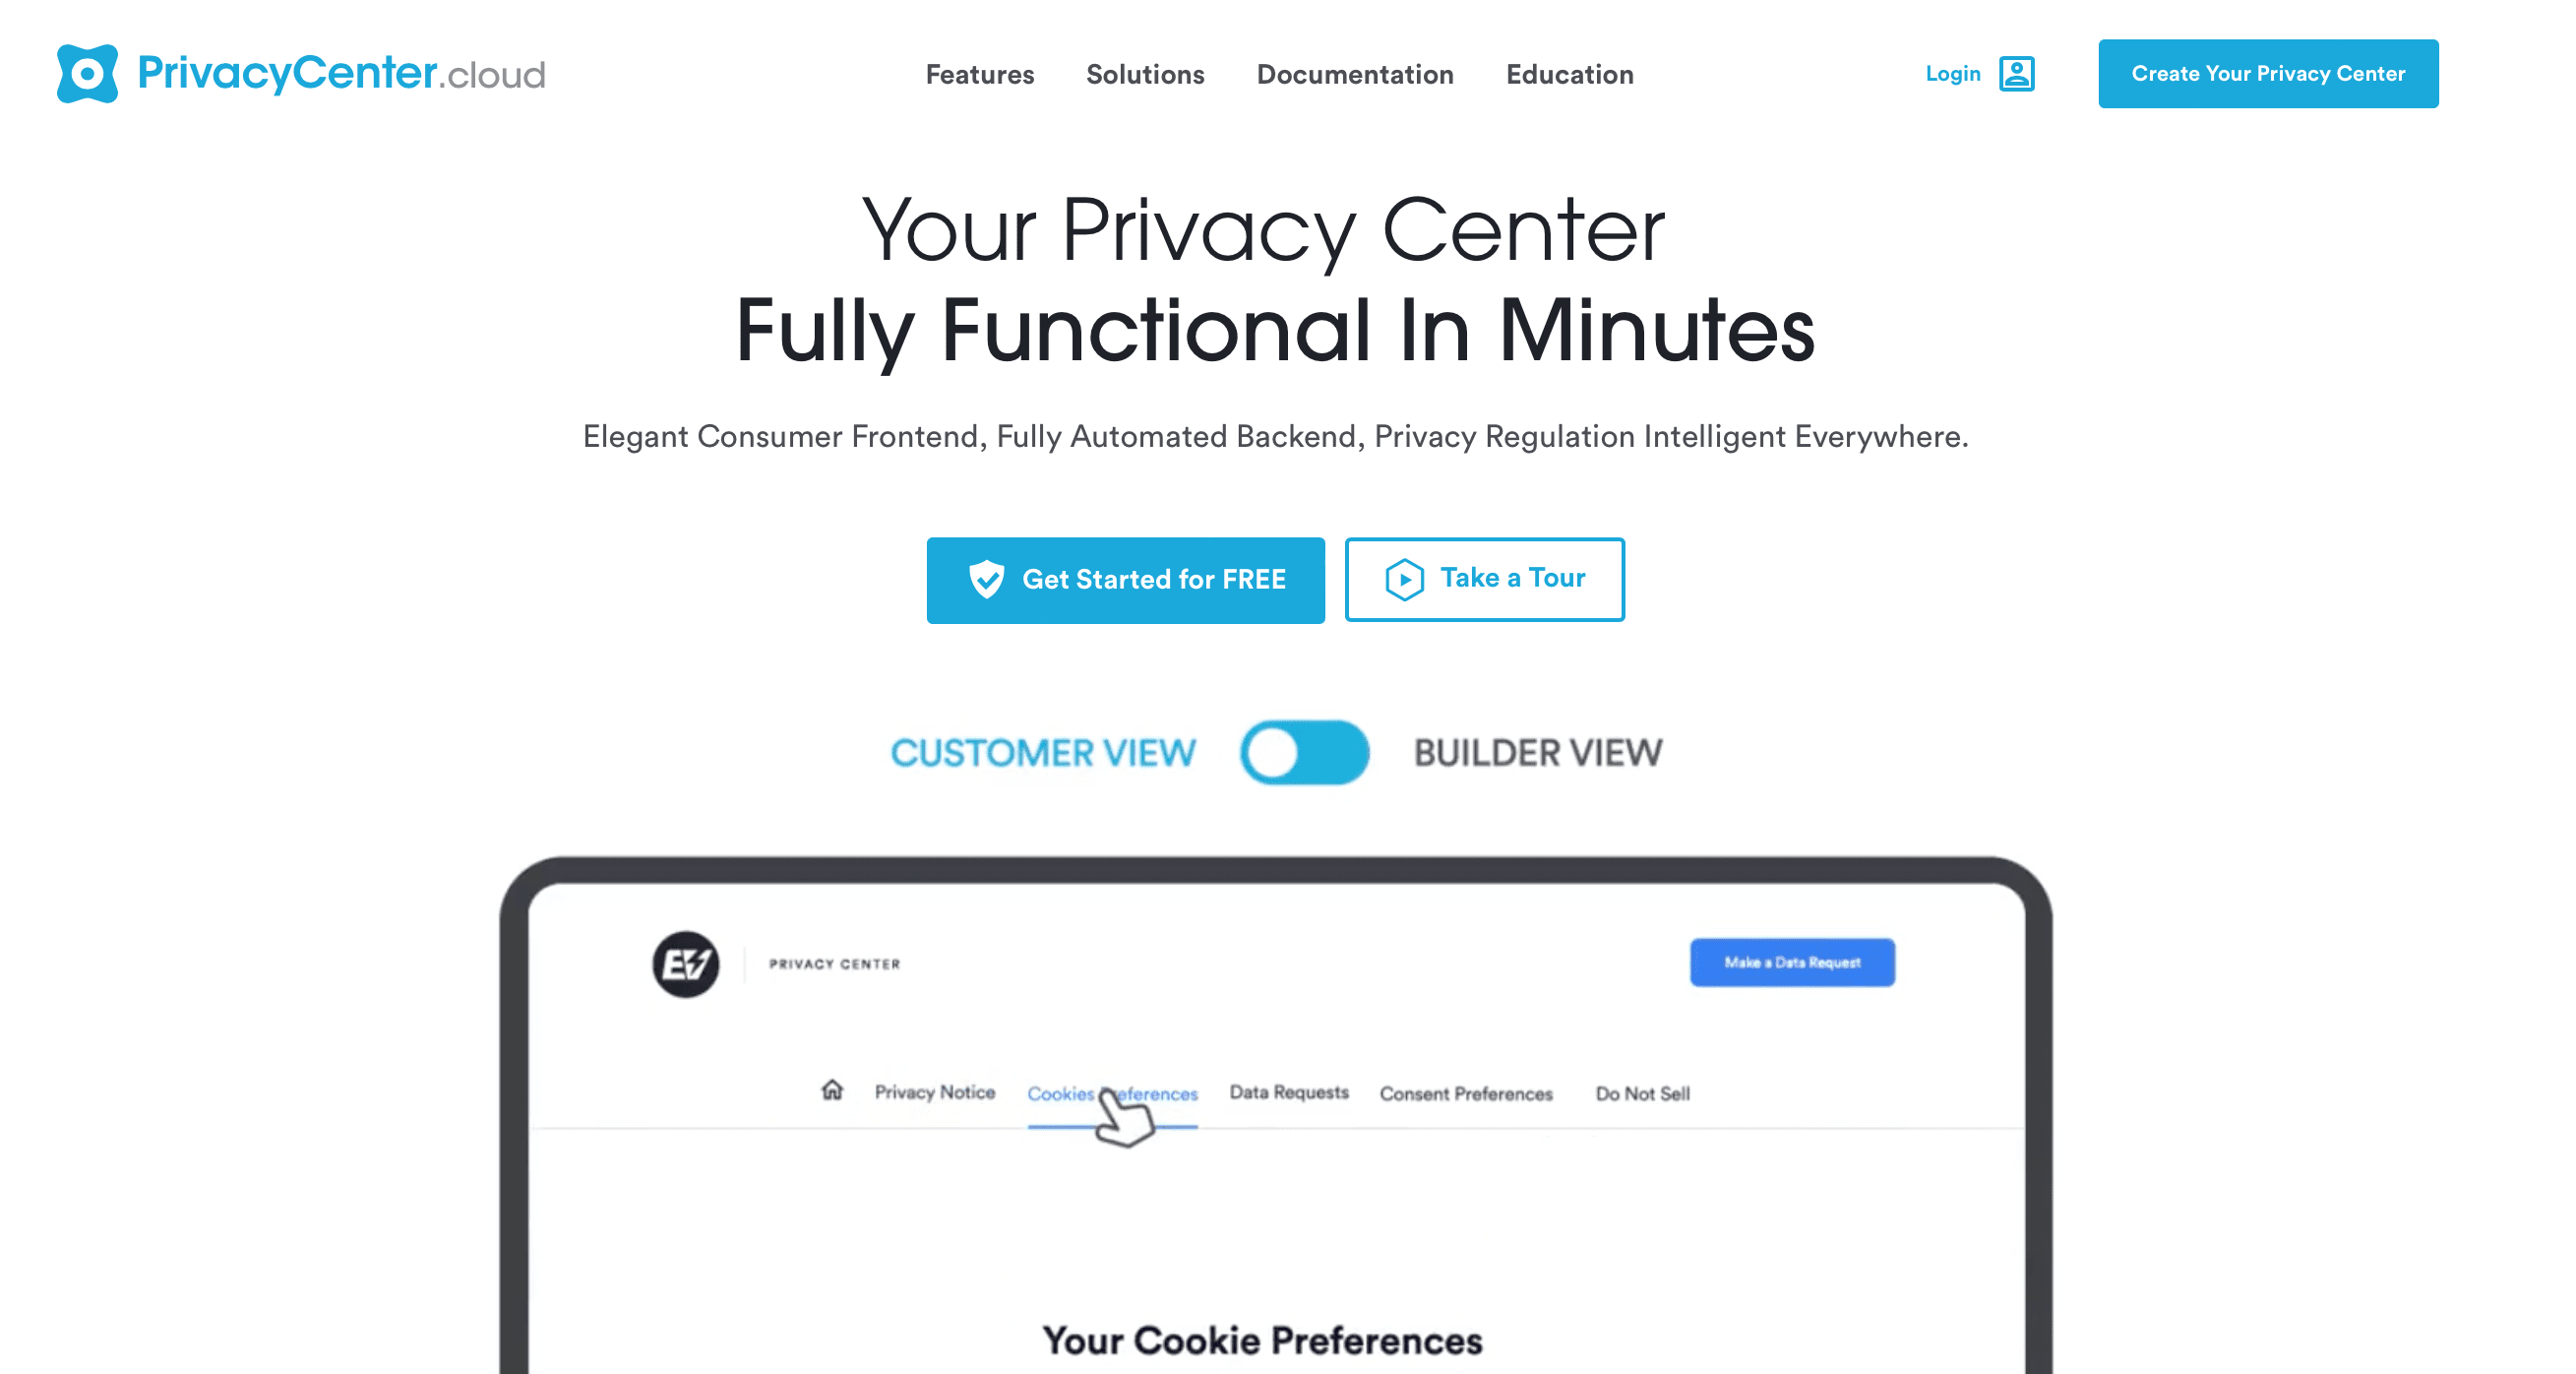
Head over to Privacy Center page here;

Privacy Center Shopify Integration
2

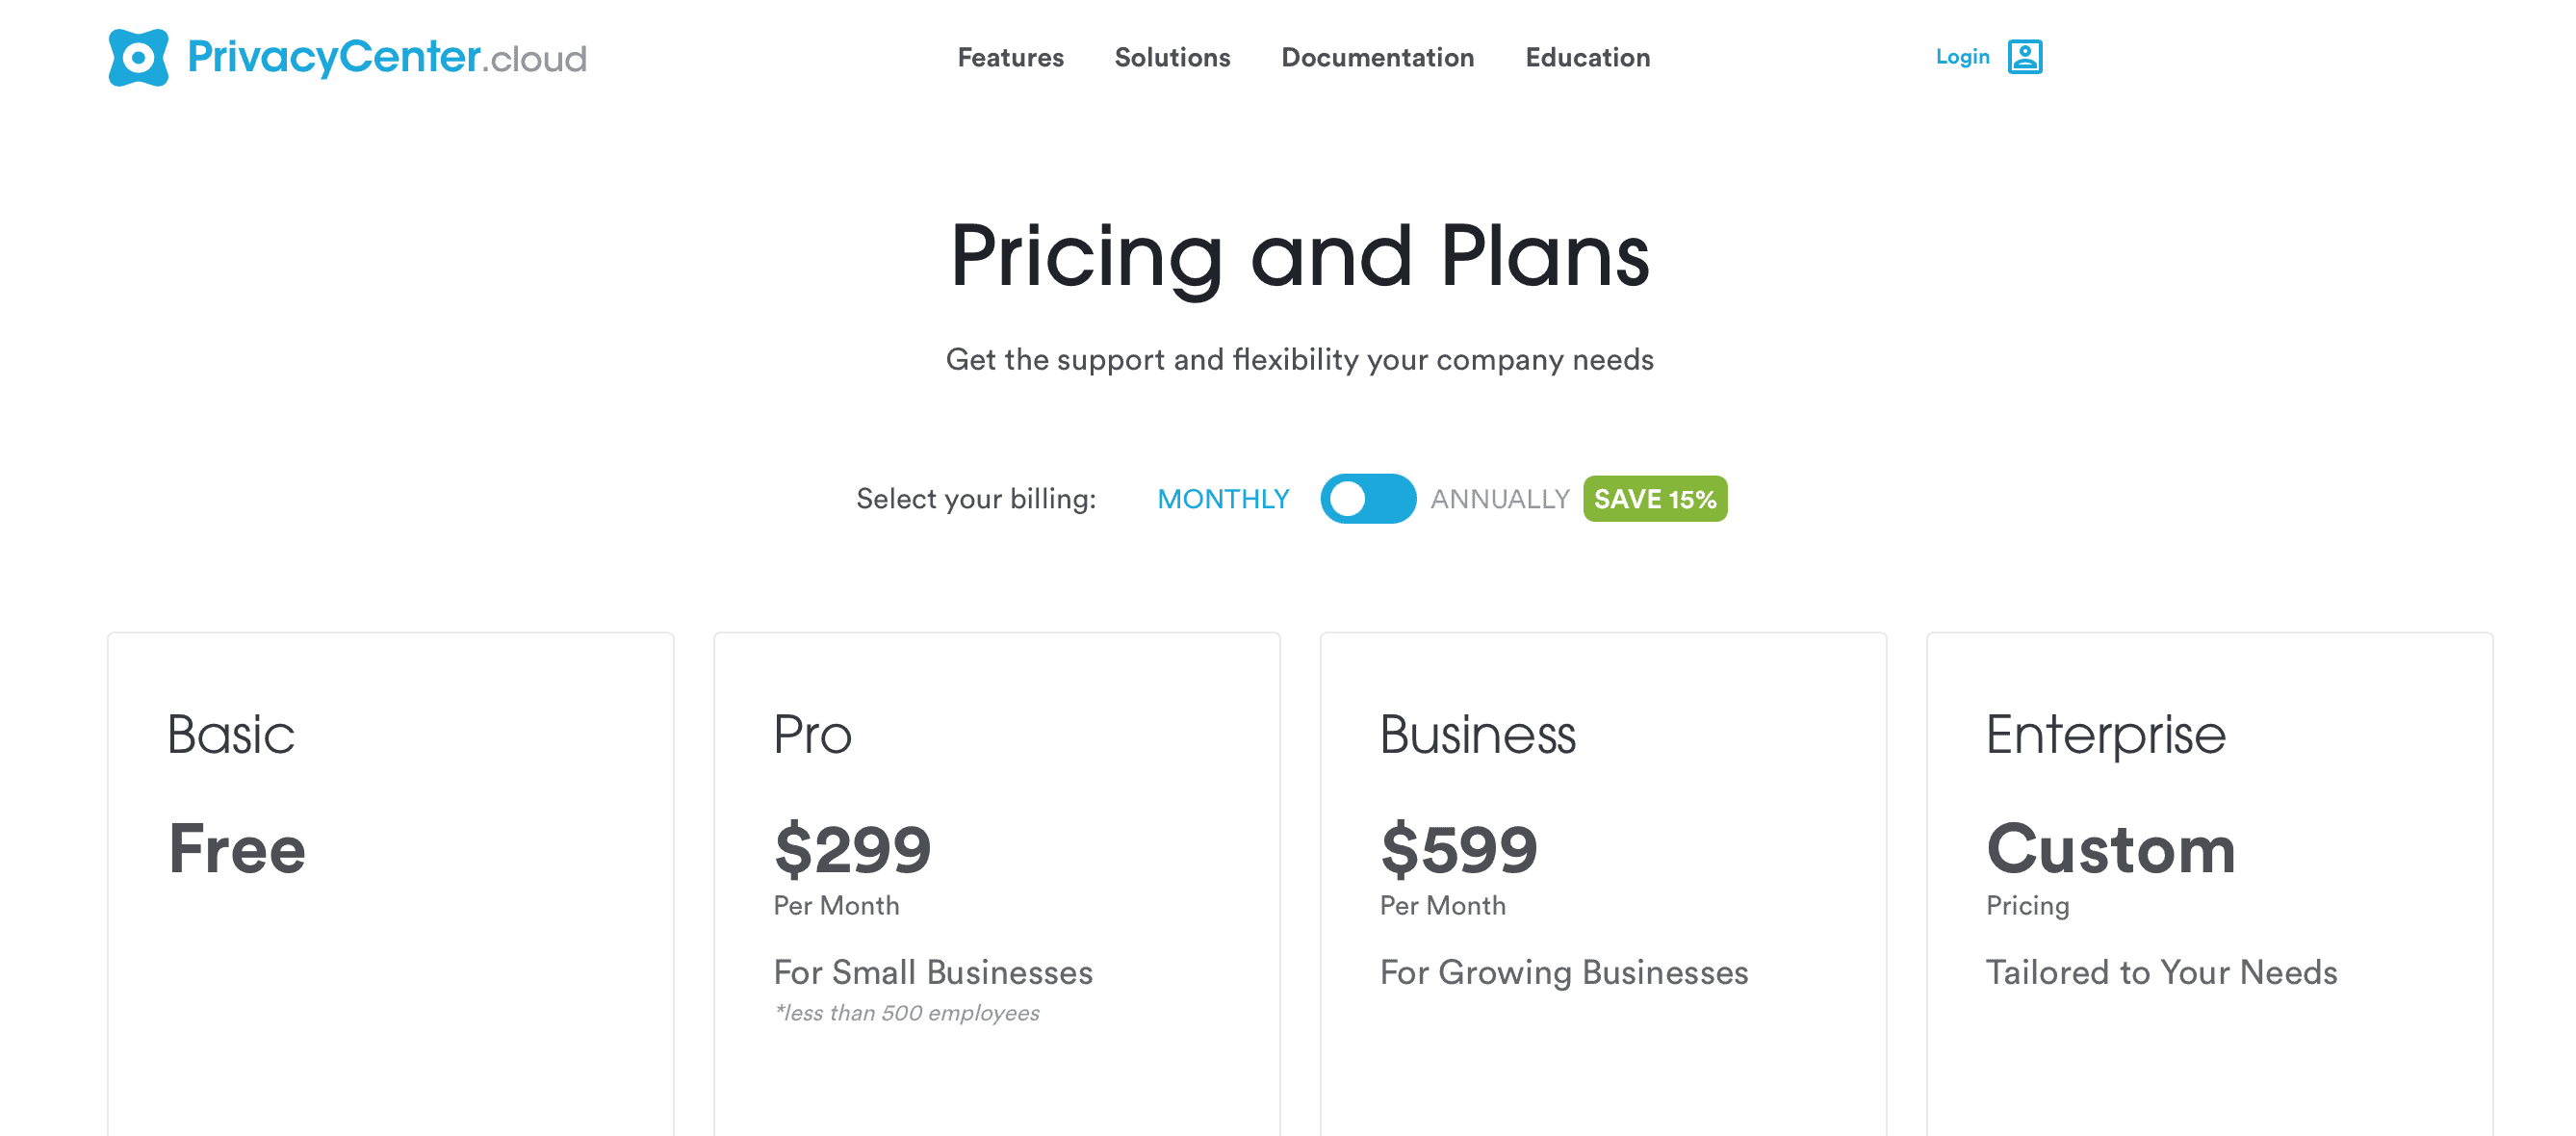
Choose your preferred plan (This can be changed later on)

Privacy Center Price and plans
3

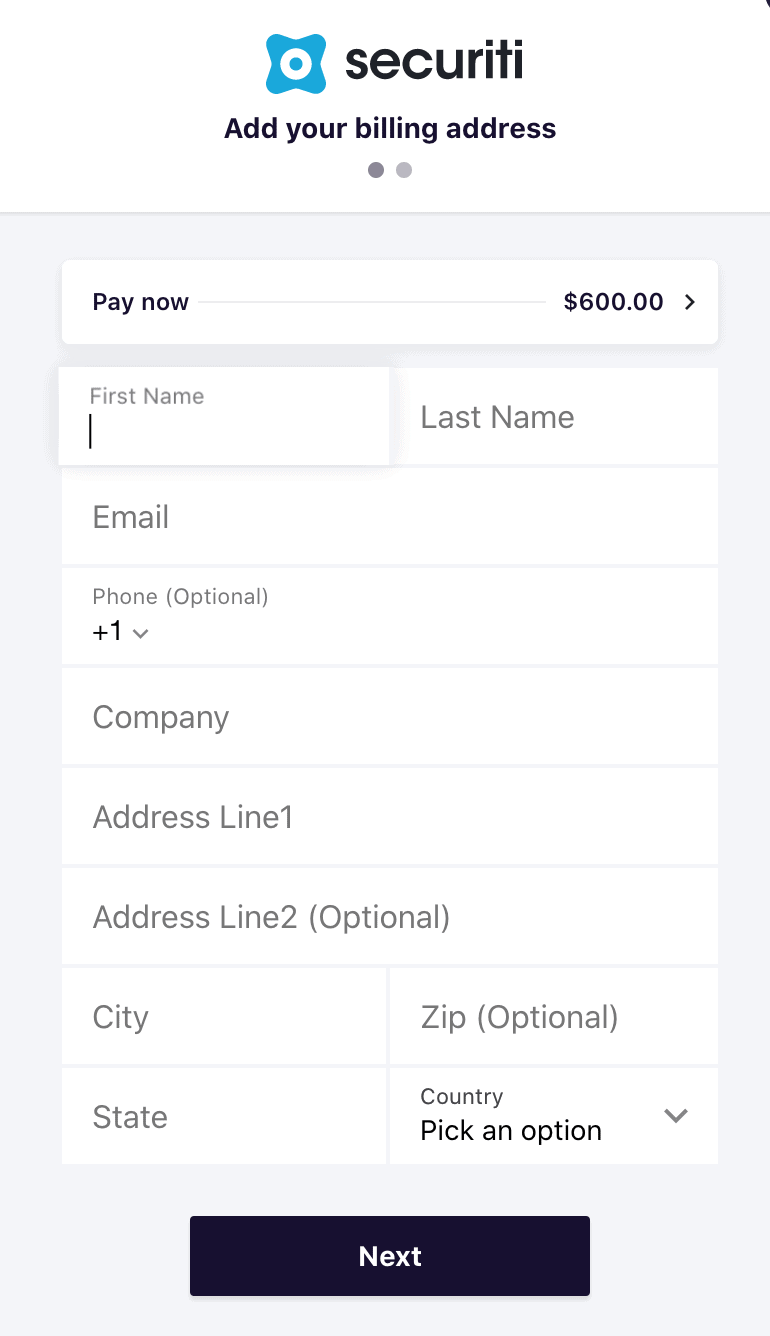
Enter all the relevant details such as your website URL, phone number, and email, etc.

4

The Privacy Center will then scan the URL you entered and categorize your selected modules.

Privacy Center Billing Details
5

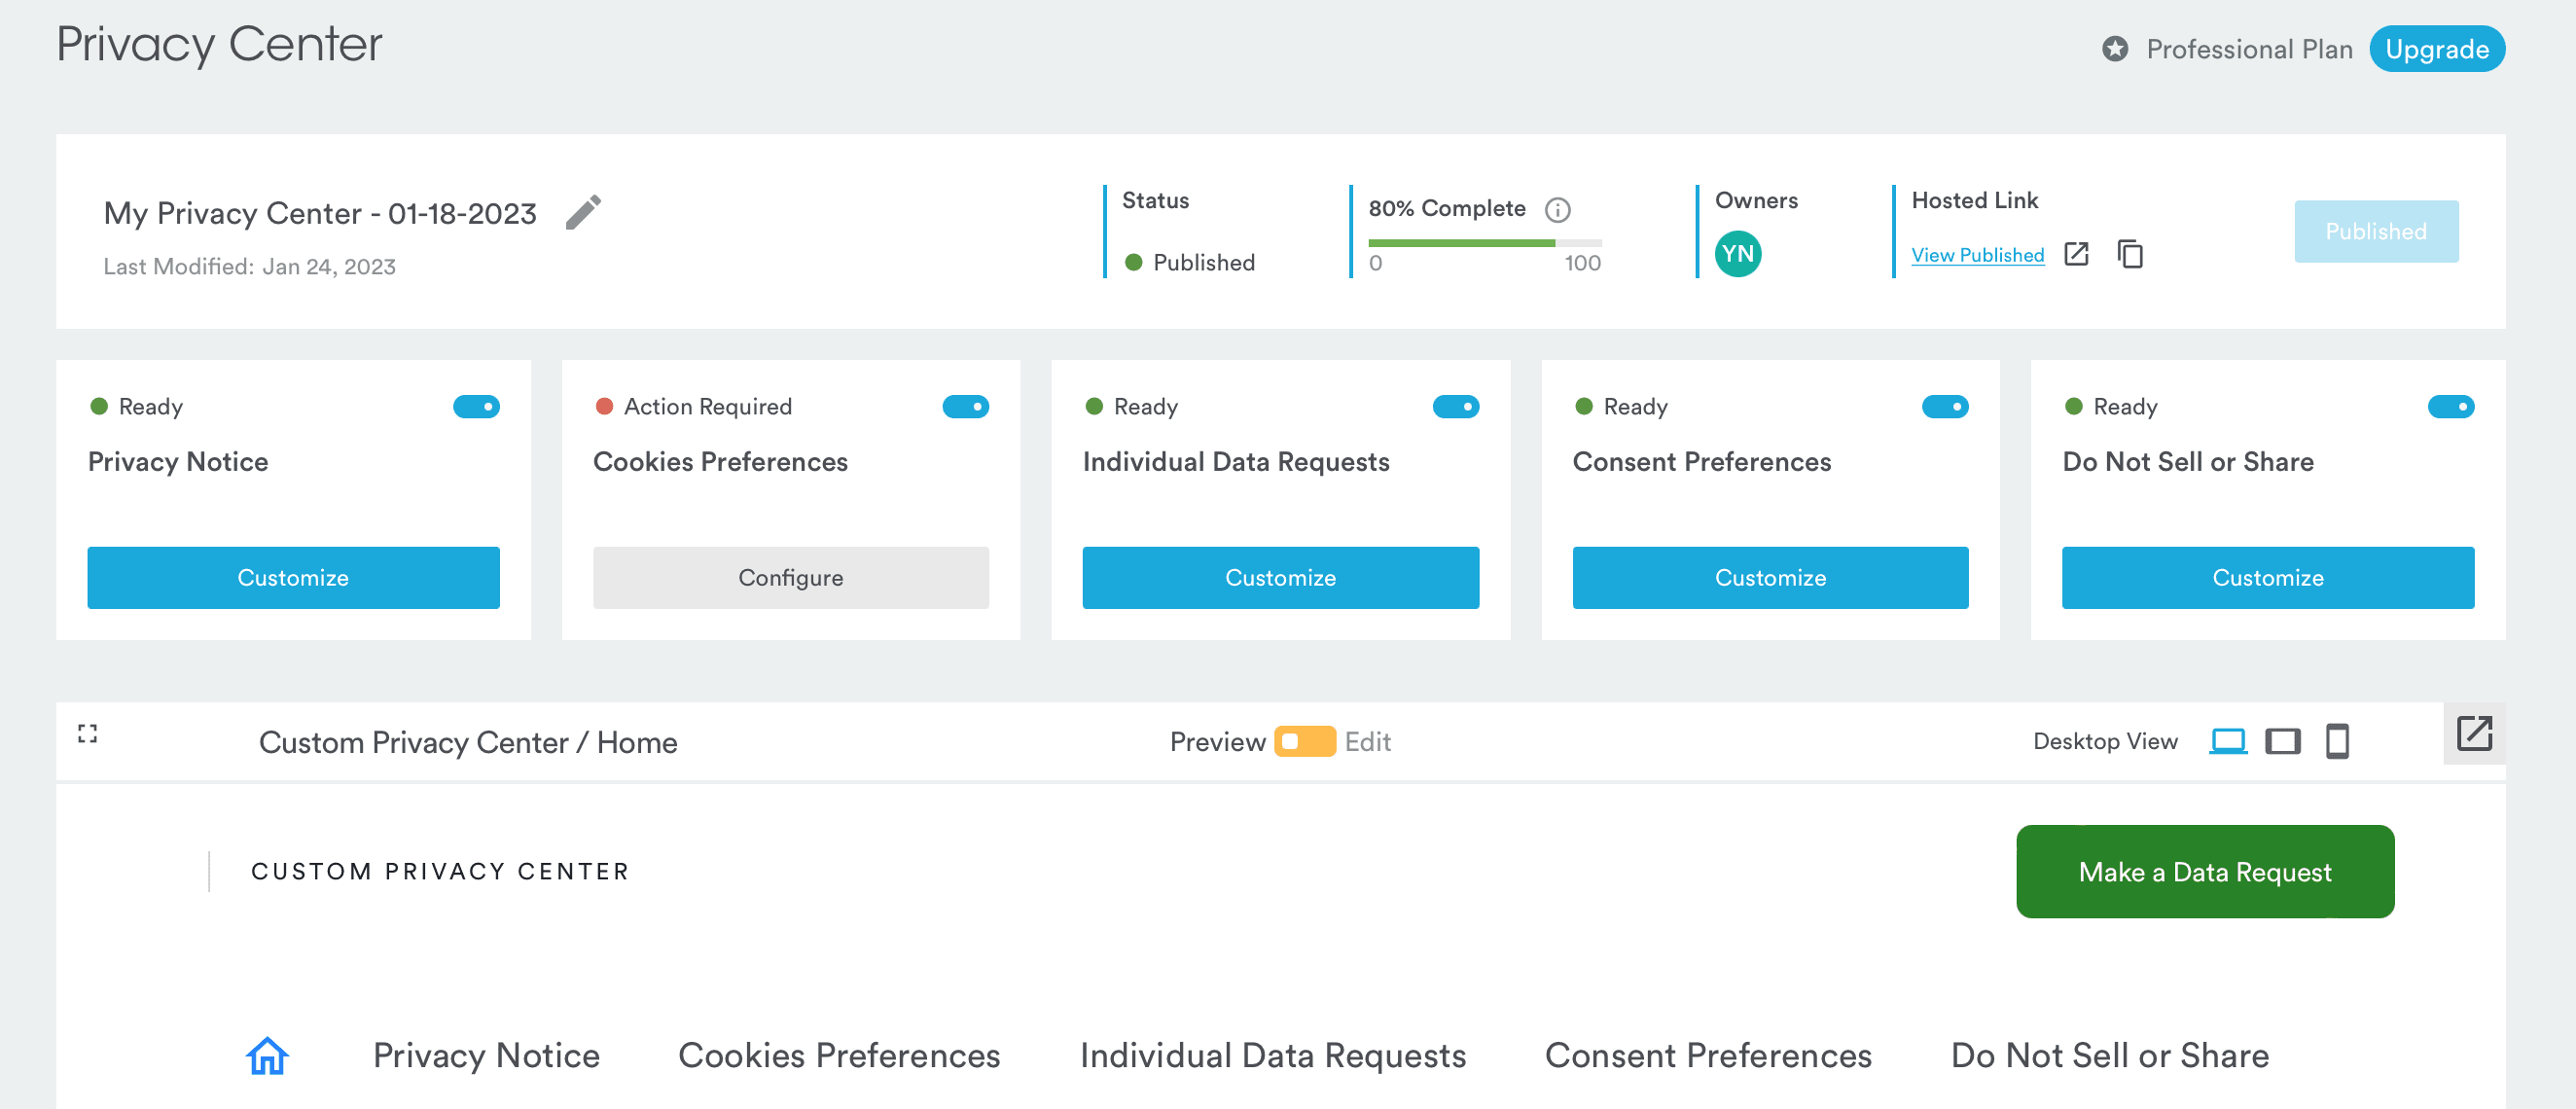
You can now edit the modules per your needs, make edits per your requirements, preview them in mobile, tablet, and desktop views, and publish when ready.

Privacy Center Dashboard

Once signed up for the Privacy Center, you’ll need the Cookie Consent script to deploy the banner on your site. Here’s how to do it:

Set up Cookie Consent Banner On Your Site

Setting up the cookie consent banner on your site is fairly easy. Follow these instructions and you’ll be able to fully leverage the cookie consent management:

1

Create an account with Securiti’s Cookie Consent Management module and log in;

2

From the main Dashboard, click on Cookie Consent;

3

From here, click on +New Domain on the upper left side of the page;

4

Now, create a New Domain Group and enter the Domain Name you want to scan;

5

Toggle to the Website Scan & Report tab, enter your website’s login info;

6

Now, check the Enable scan behind login checkbox, then enter the login information in the HTML Attributes and Login Details;

7

Click on Initiate Website Scan. This will give you a complete report of all the cookies on your domain;

8

Switch to the Categorize Cookies tab;

9

From the Cookie Categories dropdown menu on the left, enable, and edit the cookies on your domain per your needs;

10

Once done, click on Save, and then on Publish on the upper right corner;

11

Head to the Cookie Consent page with your domain listed and click on Preview under the Consent Banner column;

12

From here, navigate to the Consent Code tab to view the Head & Body of the cookie consent script (CSS) code.

At this point, you can use this CSS code to deploy directly to your Shopify store domain or toggle to other additional tabs such as the Customize Banner & Preference Center to alter other cookie consent banner related details such as translations and which geographical locations the banner is visible in. Additionally, from the Consent Frameworks tab you can enable the Global Privacy Control (GPC) consent framework across your domain.

To help you understand all the steps in a visualized way, experts at Securiti have also created a brief video guide on how to set up your privacy center in minutes.

  1. Privacy Center Overview
  2. Set up your Privacy Center homepage
  3. Configure your Organization's Privacy Notice
  4. Set up your Cookie Preference Center
  5. Set up Individual Data Requests page to collect and track DSR requests
  6. Set up your Consent Preference Center
  7. Add a new page as per your organizational needs
  8. Publish your Privacy Center

At this point, you’ll have the consent code necessary to deploy the cookie consent plugin for your Shopify store. Here’s what you’ll need to do:

1

Log into your Shopify account;

2

Navigate to Online Store > Themes;

3

From the Actions dropdown menu, click on Edit code;

4

Now, click on Layout and then theme.liquid;

5

From here, add the published cookie consent styles to the <head> section;

6

Now, click on Layout and then footer.liquid;

7

From here, add the published cookie consent script to the <footer> section;

8

Add the following link in the footer (<a href="INSERT YOUR LINK HERE”</a>)

9

Click Save to deploy the code.

What's
New