Securiti AI Launches Context-Aware LLM Firewalls to Secure GenAI Applications

View
Squarespace

Securiti’s PrivacyCenter.cloud With Squarespace

With more and more data privacy regulations coming into effect globally, organizations have begun to rethink their responsibilities towards their users’ collected data. These regulations place numerous obligations on how this data is to be collected, stored, used, and secured.

Securiti’s PrivacyCenter.cloud offers organizations a centralized resource that helps them comply with all their notice management, data rights requests, Do Not Sell requests, and cookie management obligations seamlessly.

The centralized dashboard is not only easy-to-use and deploy but comes ready to be leveraged to its maximum potential. Organizations may make use of the several modules at their disposal to meet their various obligations.

The PrivacyCenter.cloud modules can be used to generate a customized privacy policy from a selection of hundreds of pre-built templates that ensure compliance with all major data regulations from across the world. Similarly, the Do Not Track and Do Not Sell or Share My Data are crucial tools that help organizations ensure users get a significant say in how their data is collected and used.

Here’s how you can set it up within minutes:

Sign Up For Securiti’s PrivacyCenter.cloud

1

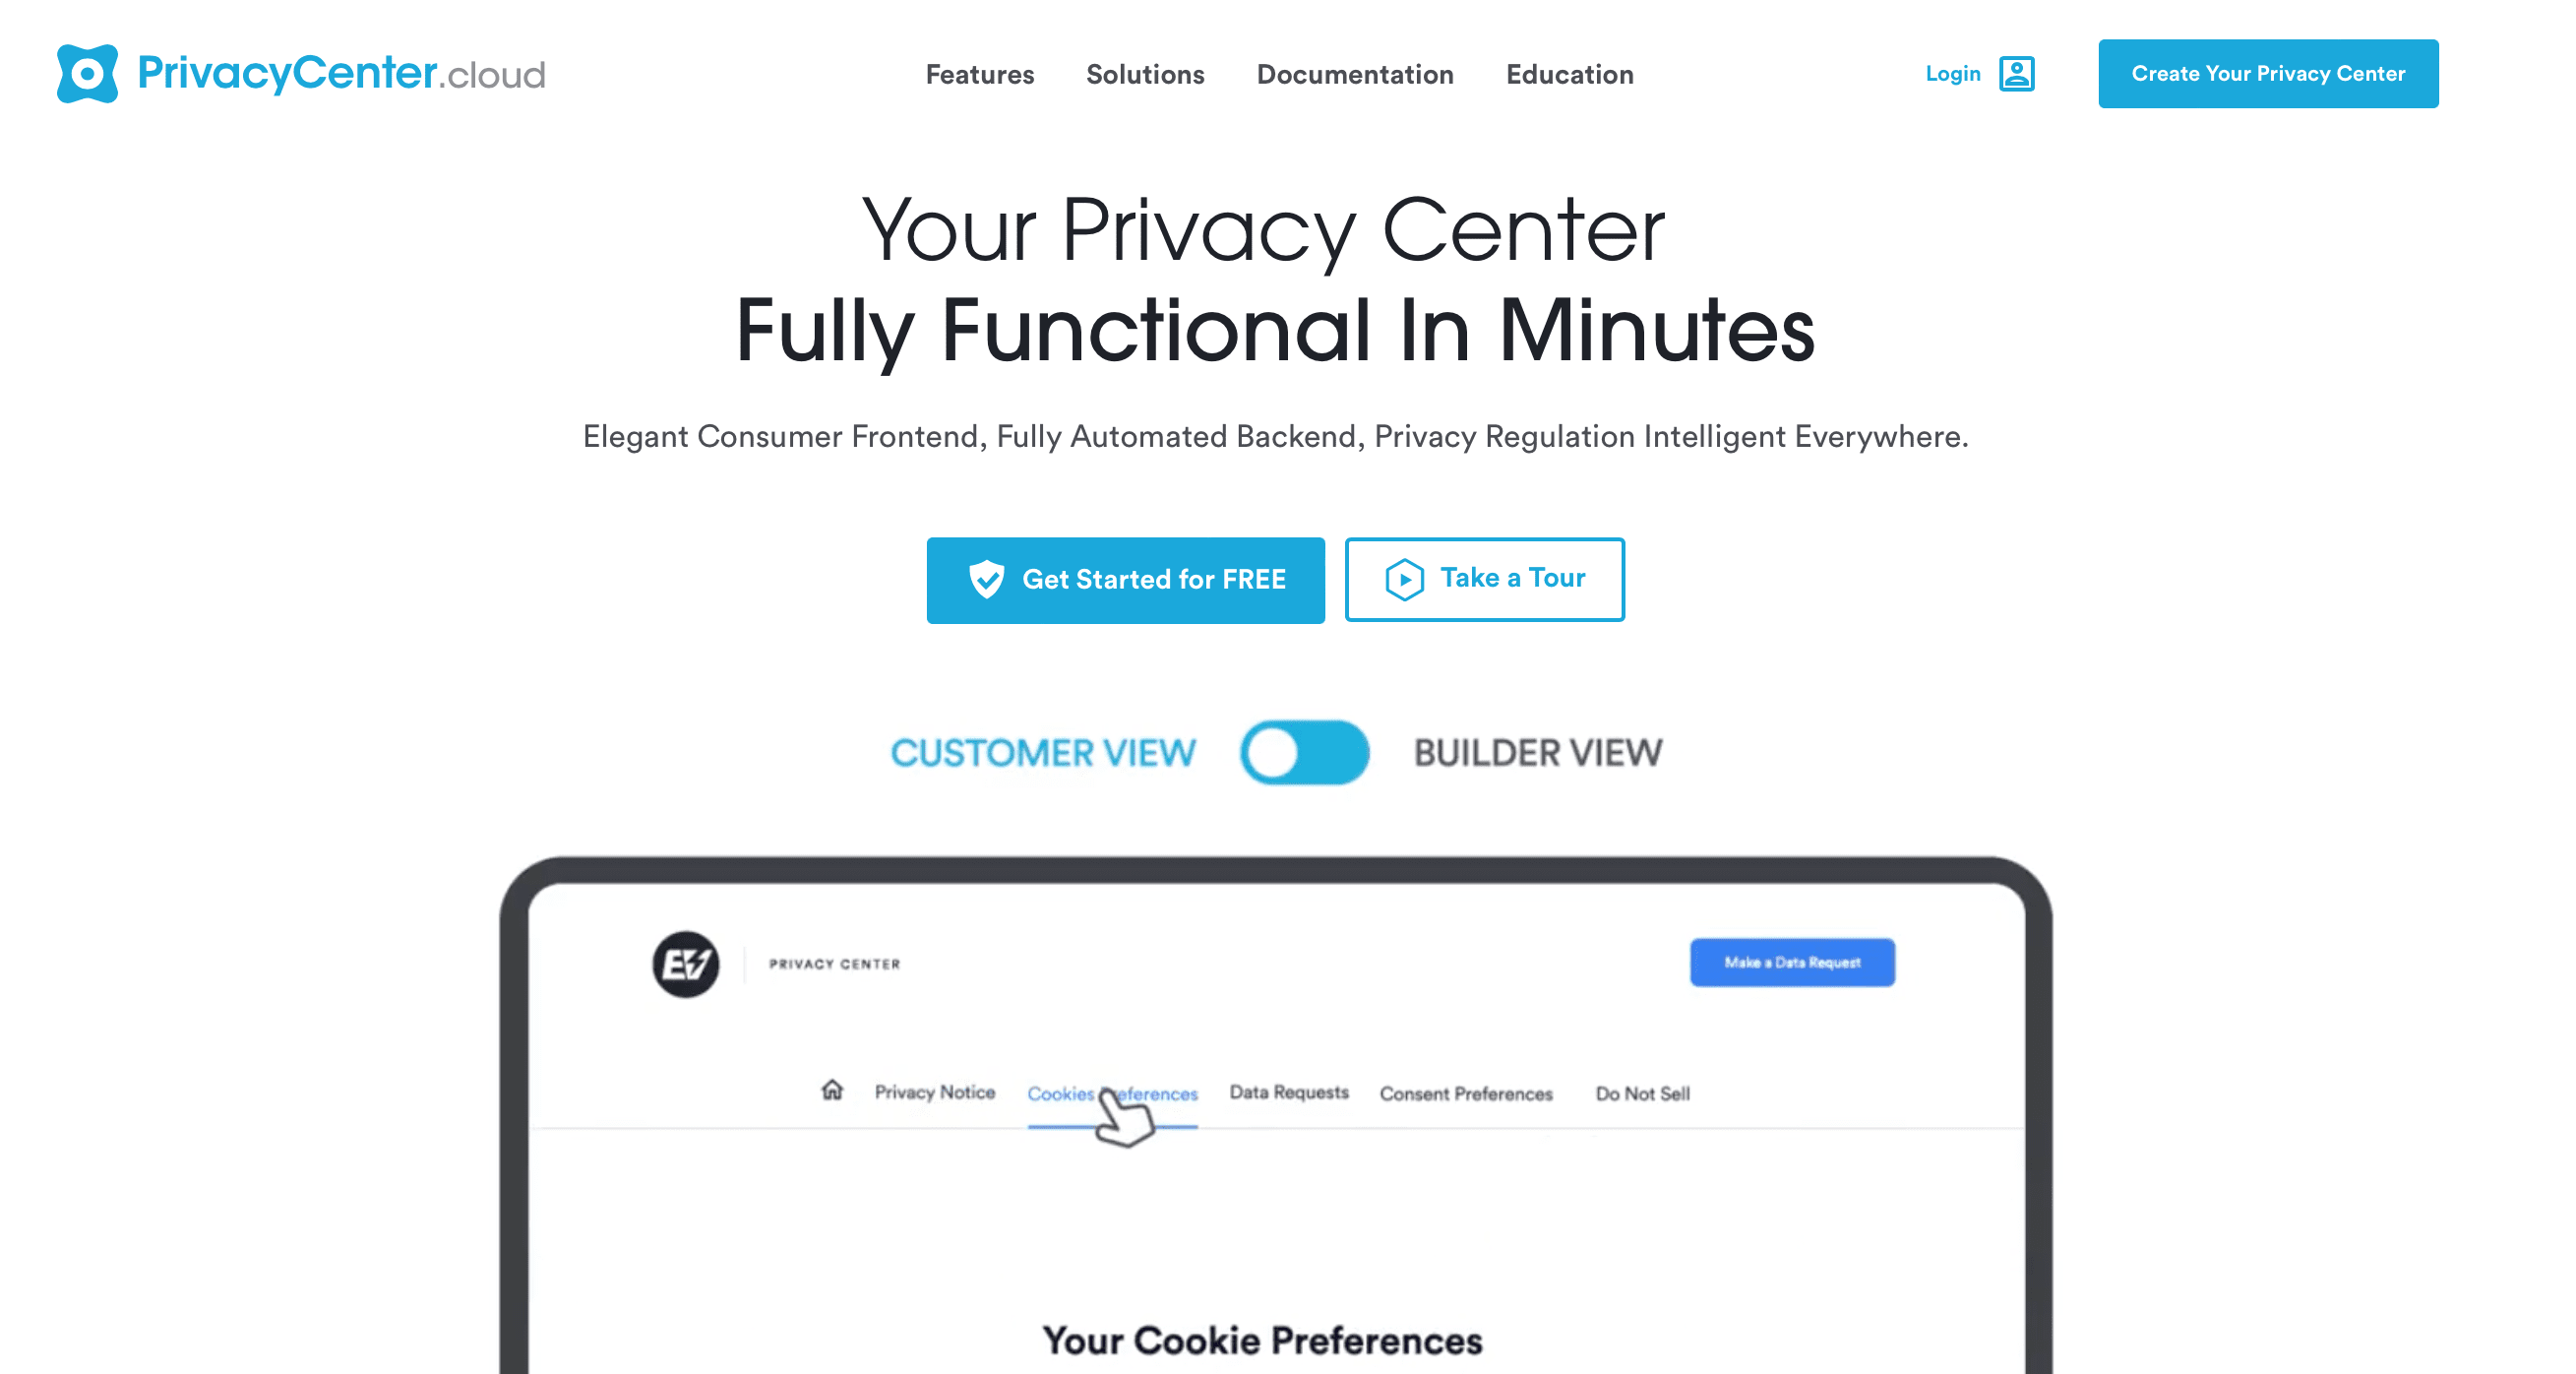
Get started by heading over here;

Privacy Center WordPress Integration
2

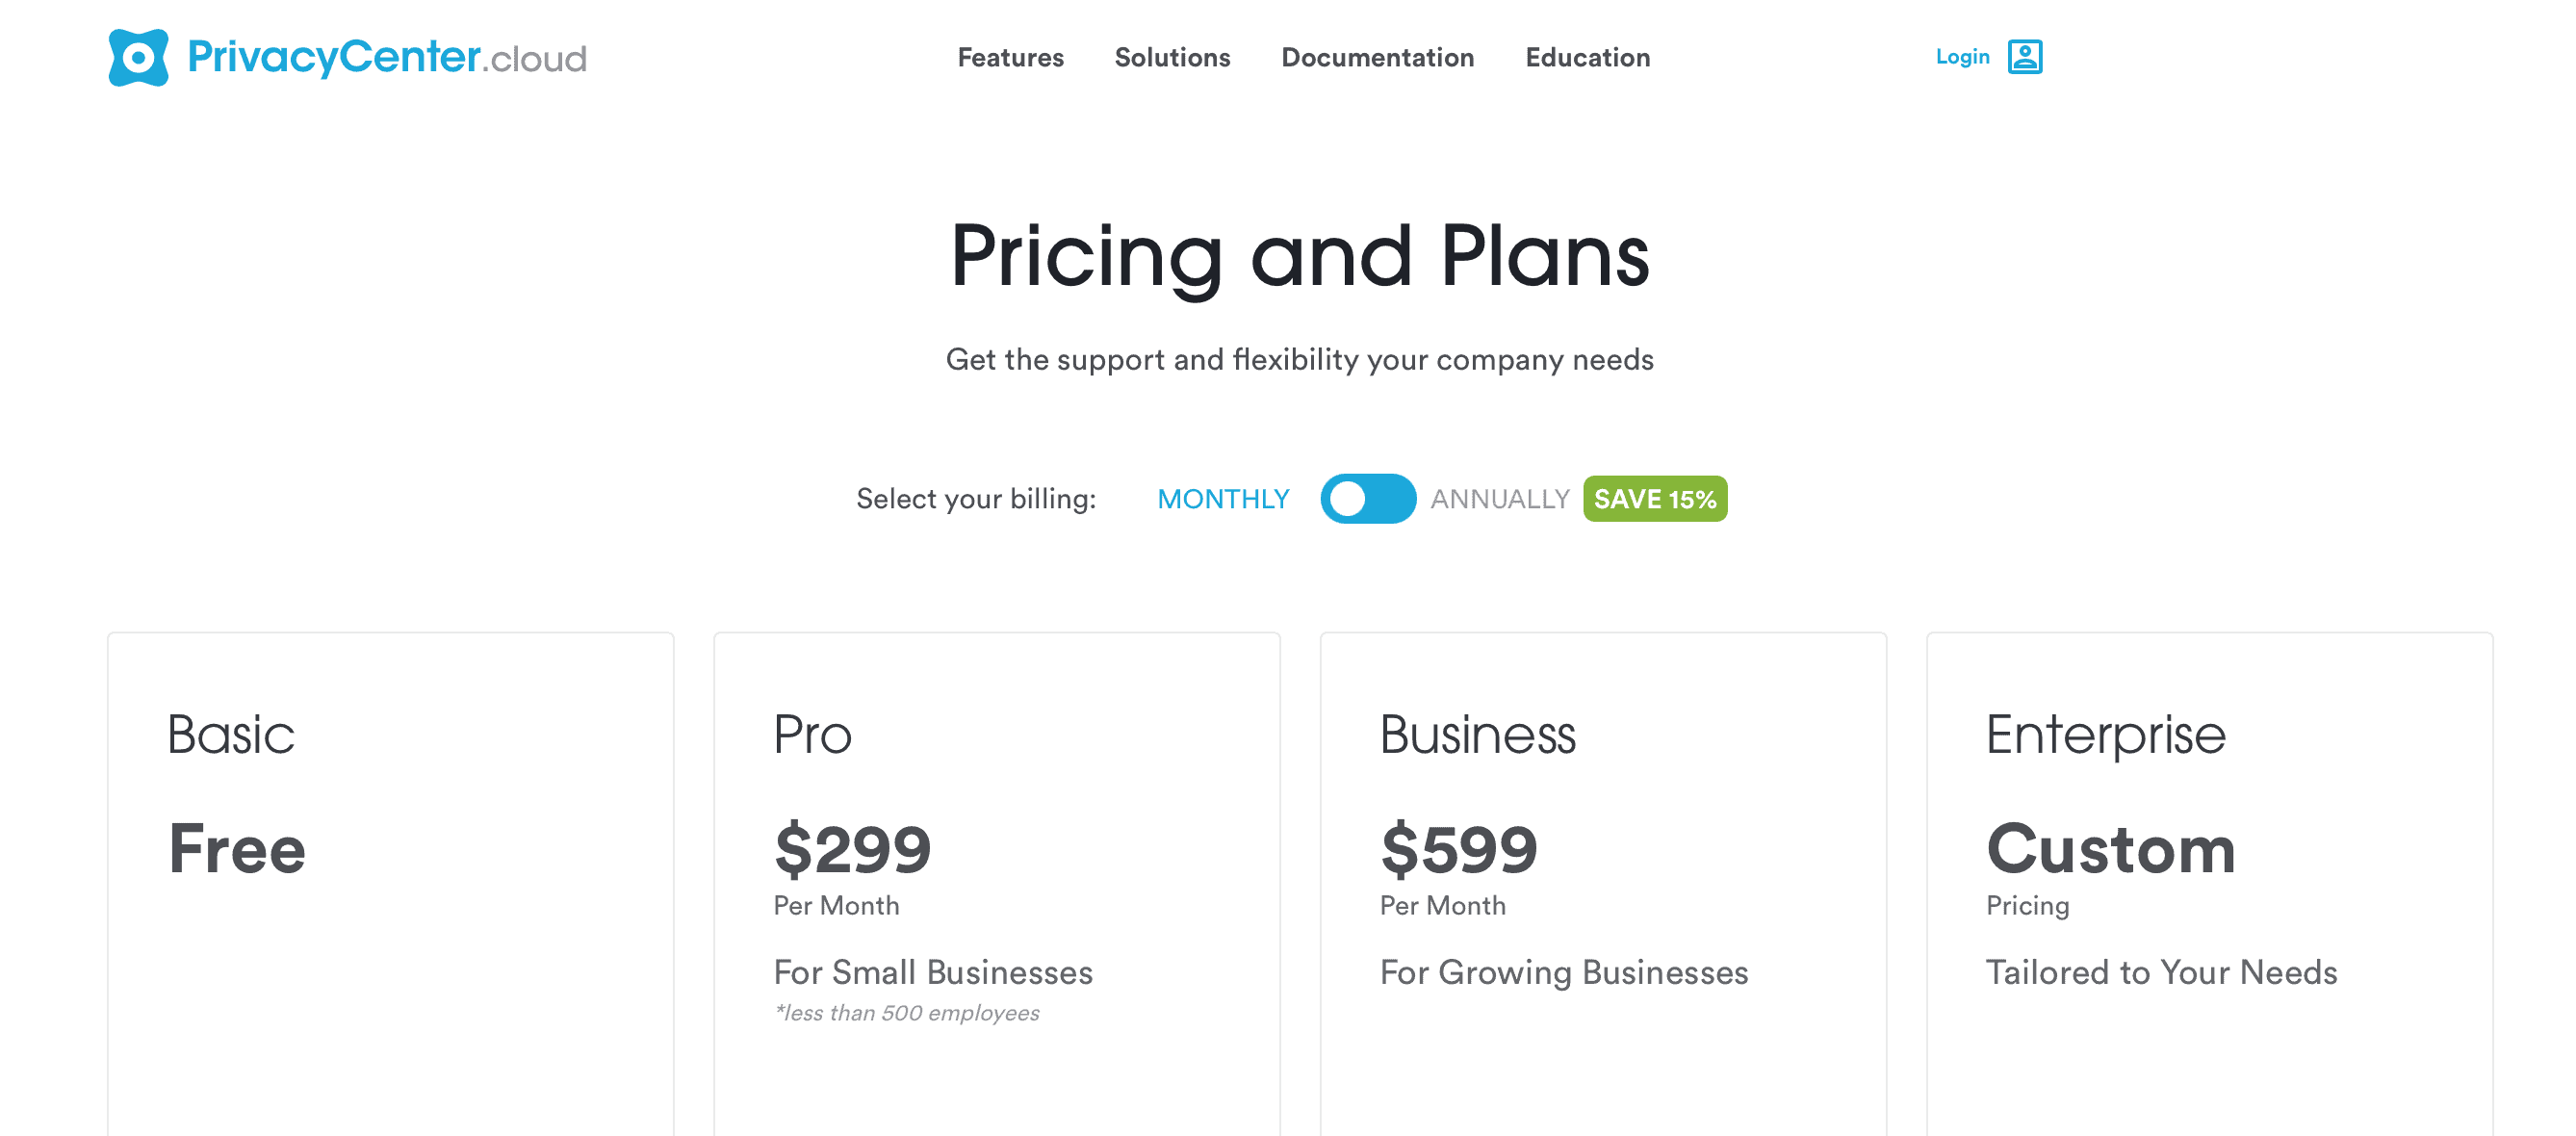
Choose your pricing and payment plan per your needs (This can be changed later on);

Privacy Center Price and plans
3

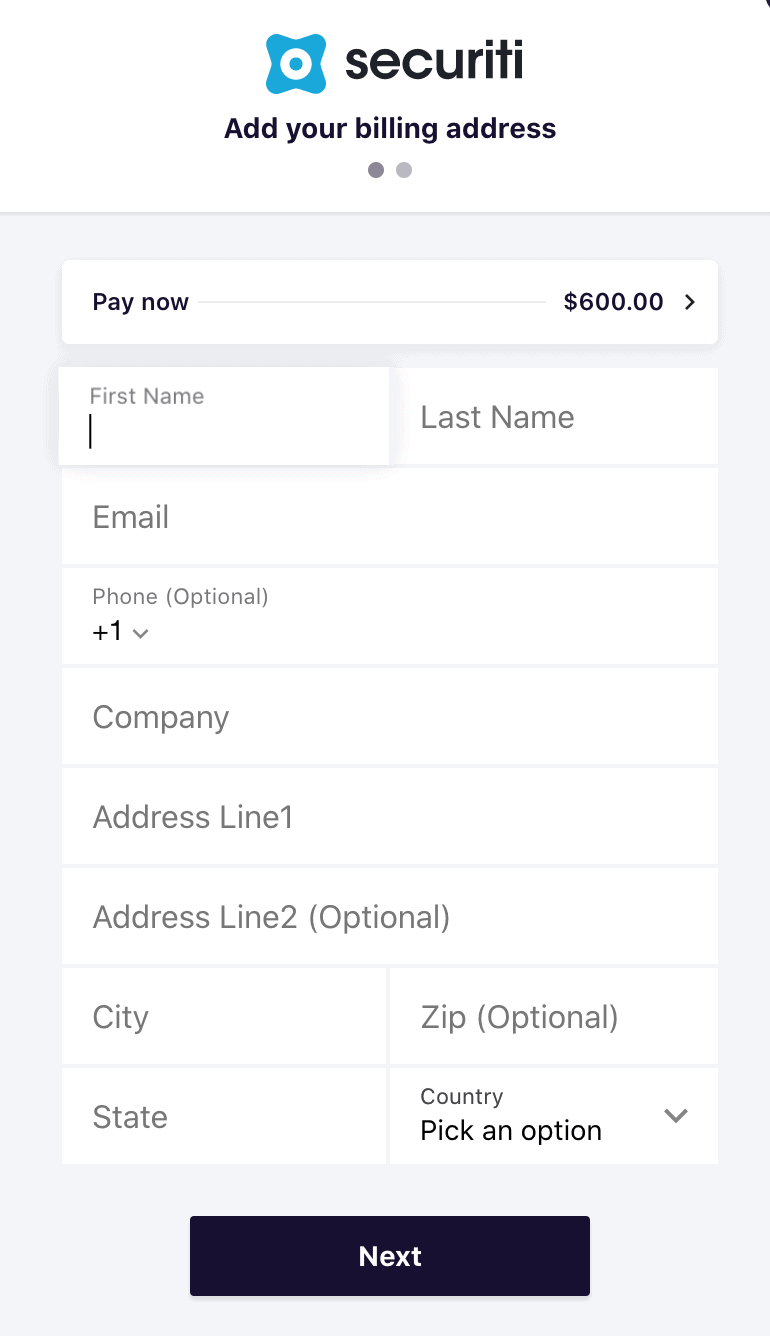
Fill this form with the relevant details to finish setting up the PrivacyCenter.cloud;

privacy center billing details
4

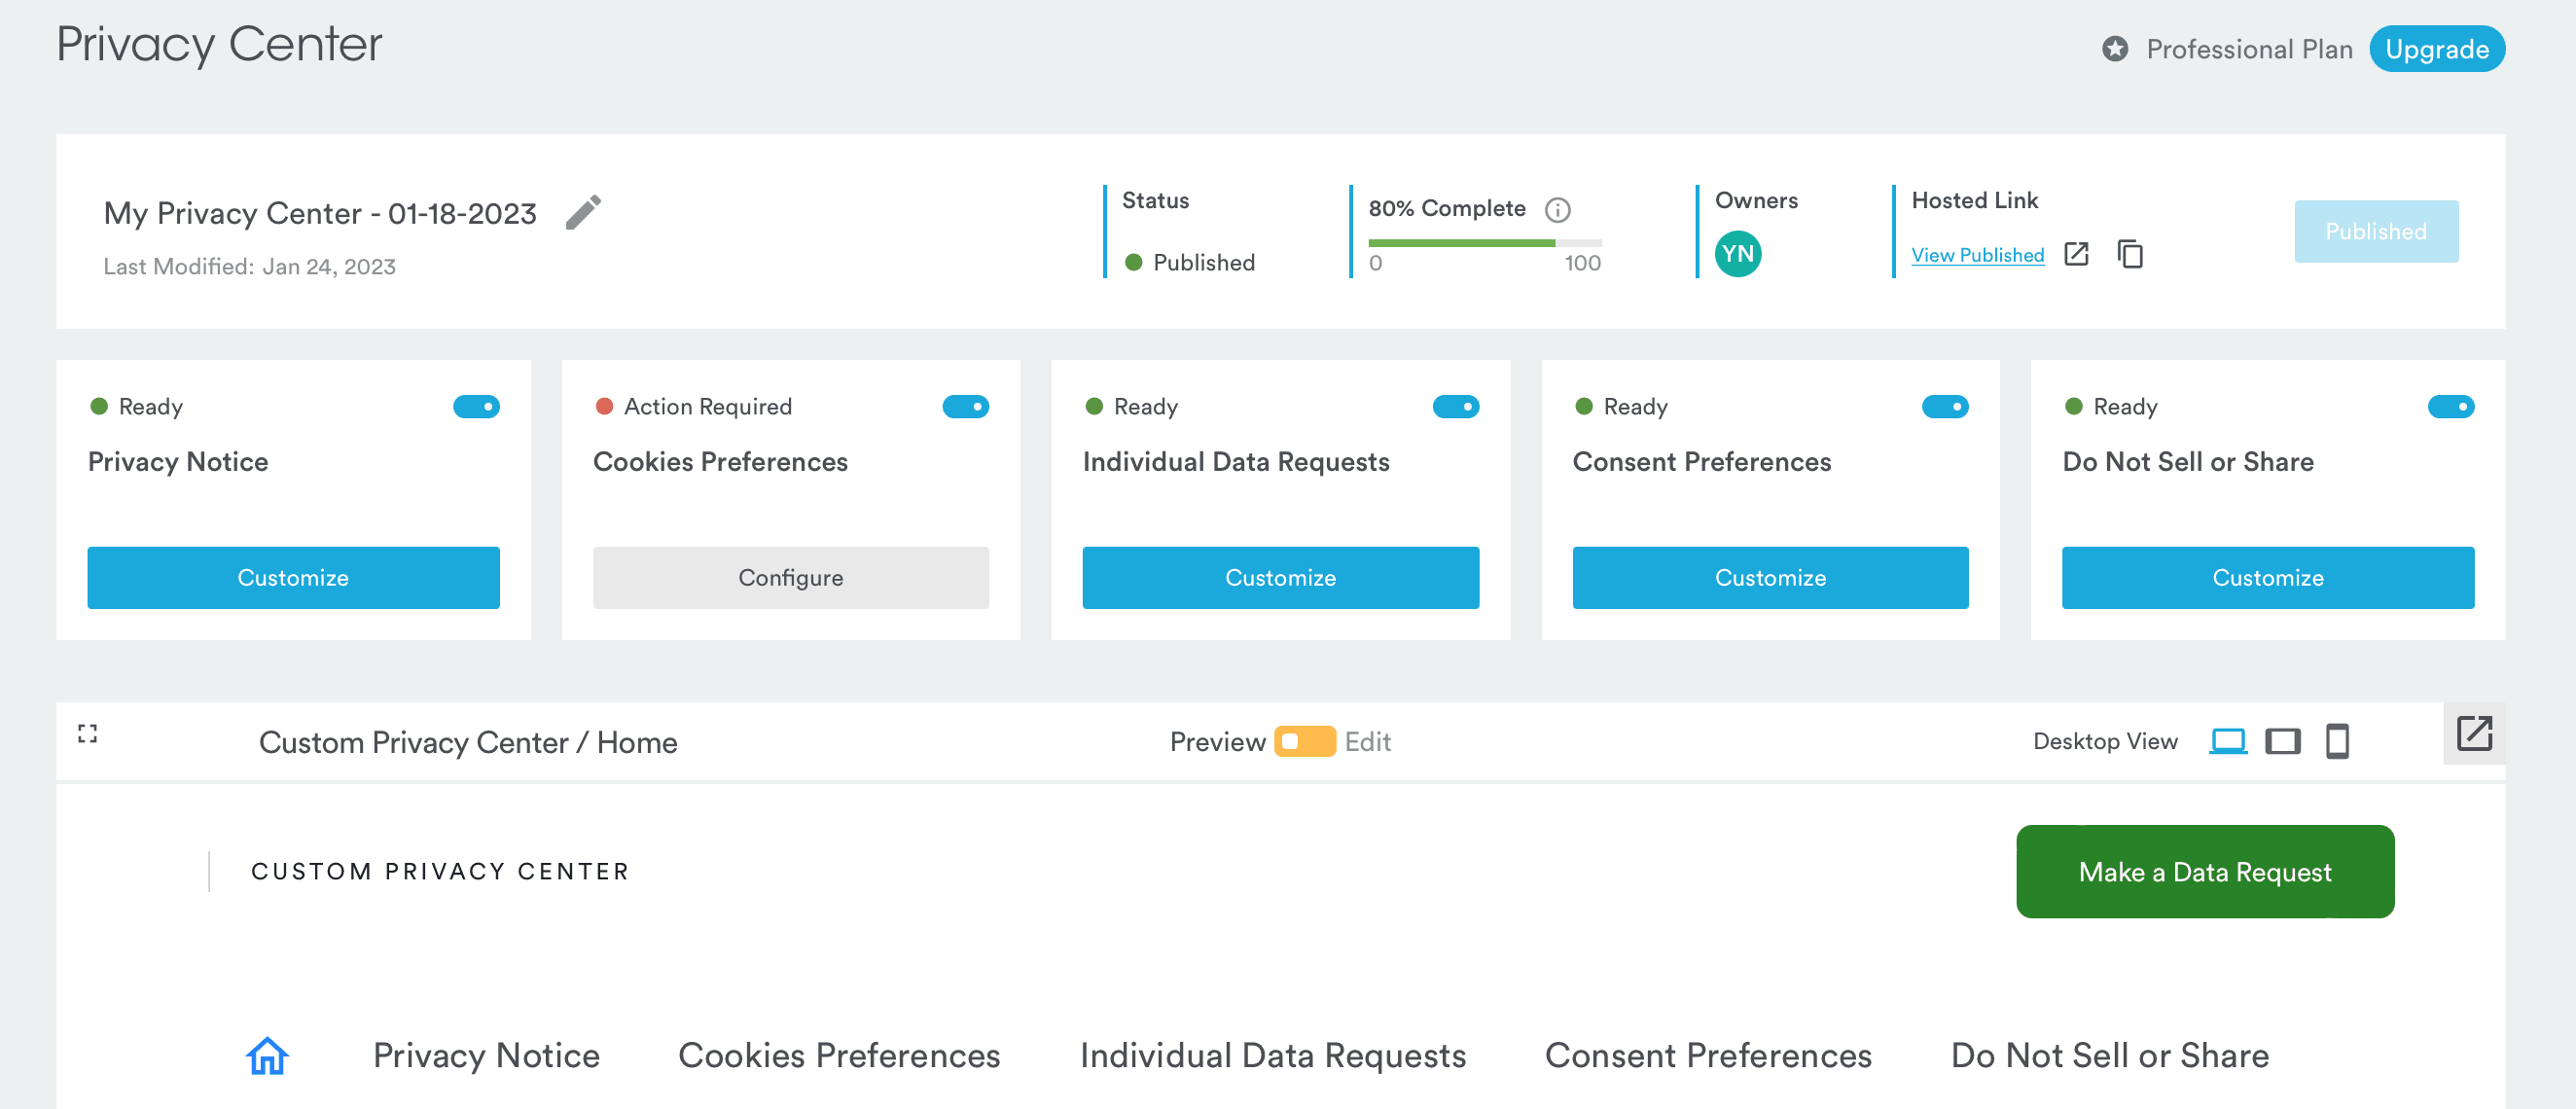
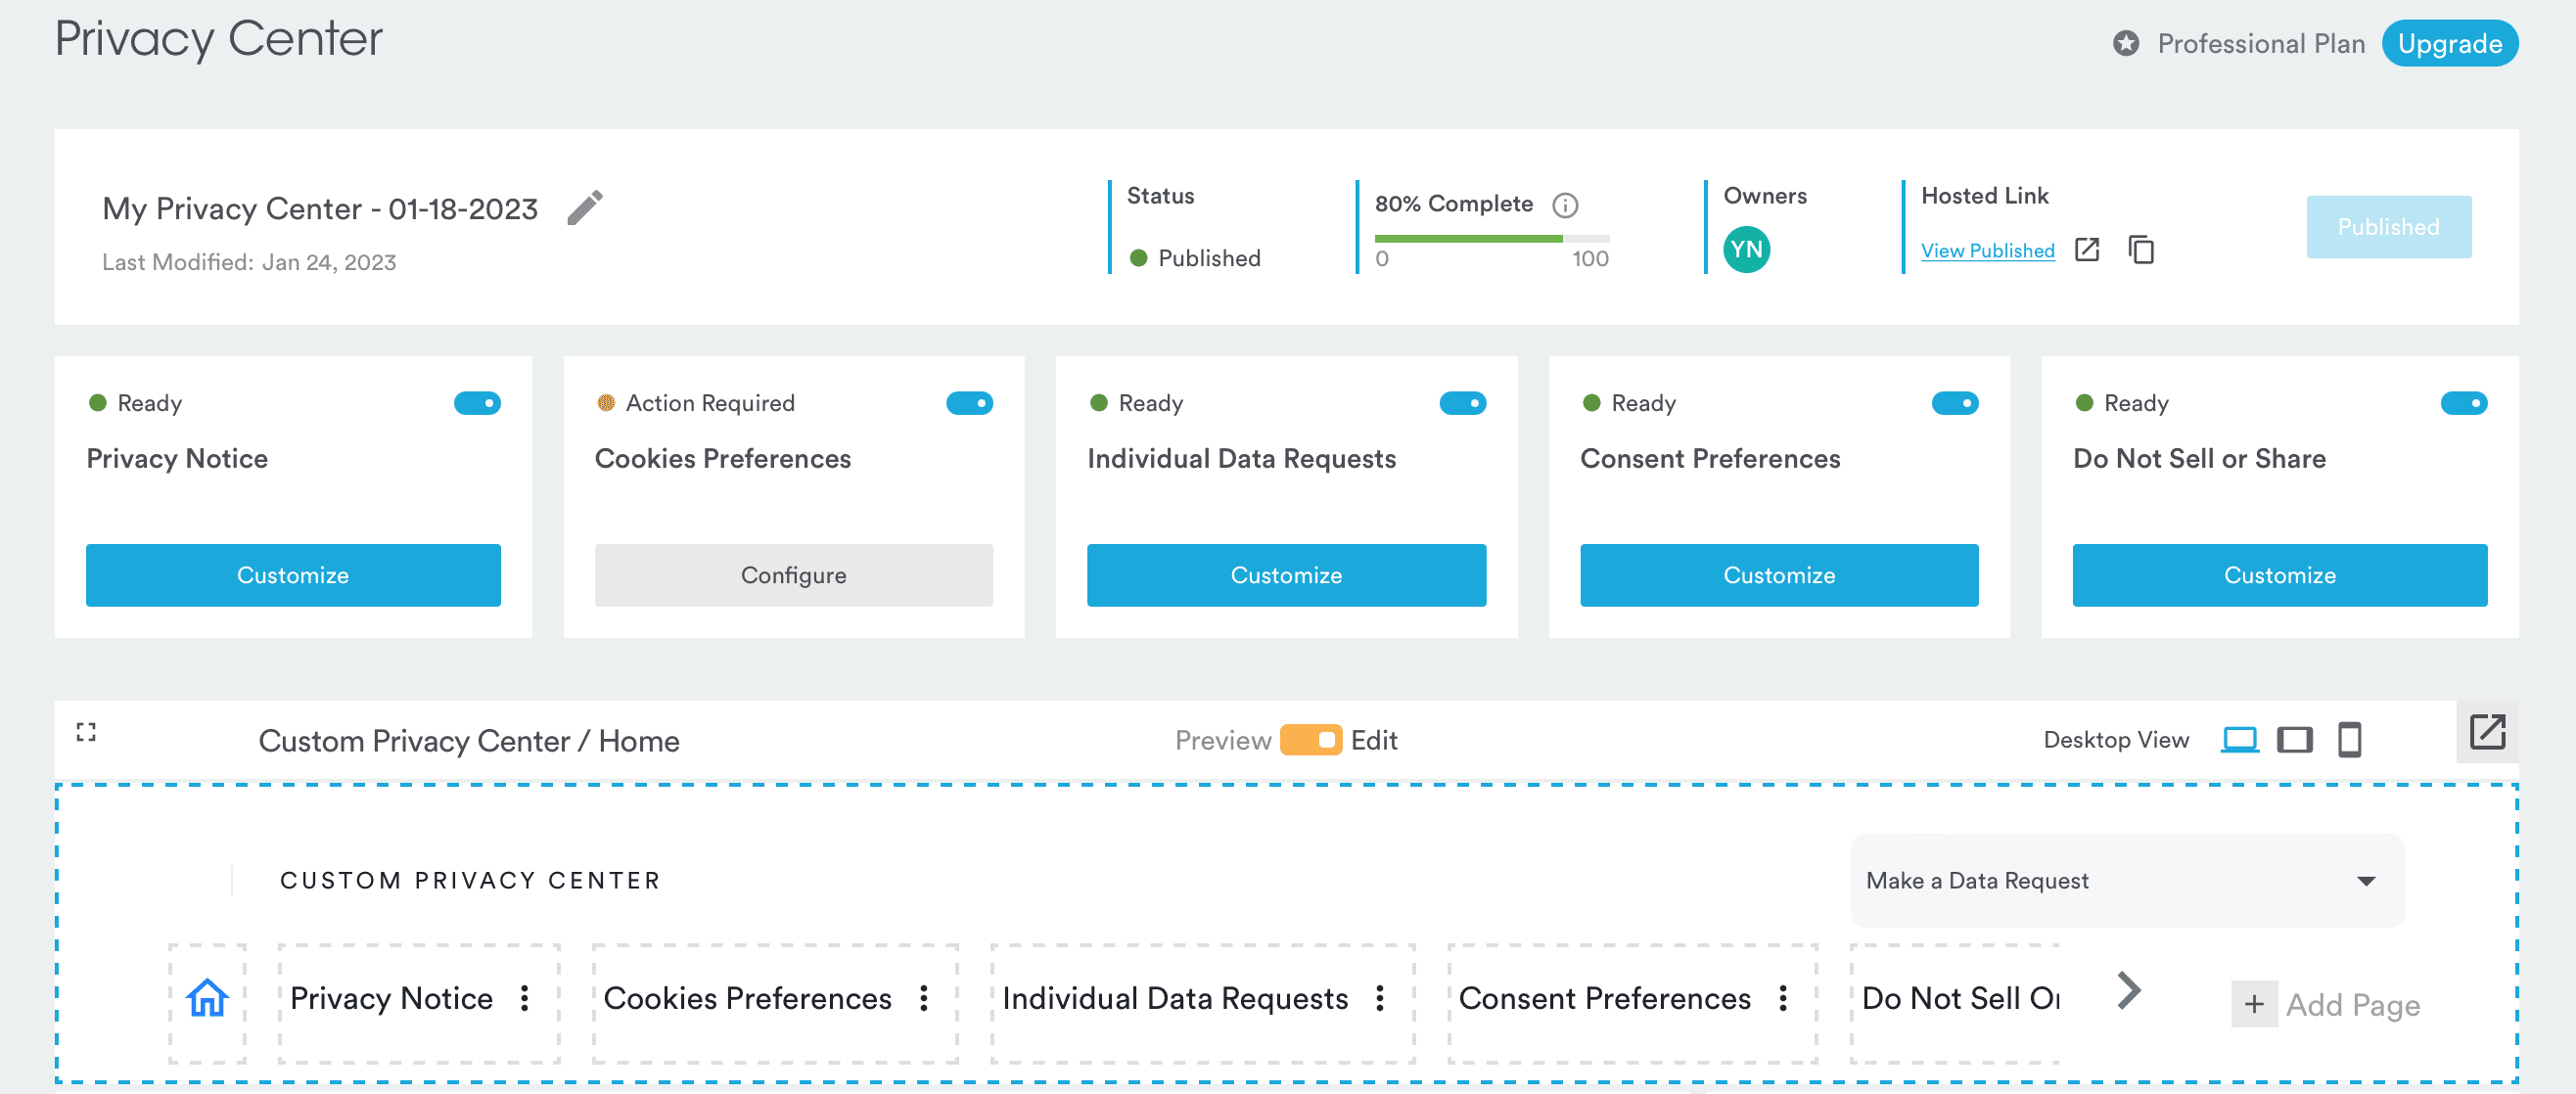
The PrivacyCenter.cloud is all set up with the relevant modules per your plan;

Privacy Center Dashboard
5

You can continue making additional changes and modifications if needed before publishing once ready.

Privacy Center Configuration

Once signed up for the PrivacyCenter.cloud, you’ll need the Cookie Consent script to deploy the banner on your site. Here’s how to do it:

Set up Cookie Consent Banner On Your Site

Setting up the cookie consent banner on your site is fairly easy. Follow these instructions and you’ll be able to fully leverage the cookie consent management:

1

Create an account with Securiti’s Cookie Consent Management module and log in;

2

From the main Dashboard, click Cookie Consent;

3

From here, click +New Domain on the upper left side of the page;

4

Now, create a New Domain Group and enter the Domain Name you want to scan;

5

Switch to the Website Scan & Report tab, enter your website’s login information;

6

Now, check the Enable scan behind login checkbox, then enter the login information in the HTML Attributes and Login Details;

7

Click on Initiate Website Scan. This will give you a complete report of all the cookies on your domain;

8

Switch to the Categorize Cookies tab;

9

From the Cookie Categories dropdown menu on the left, enable, and edit the cookies on your domain per your needs;


10

Once done, click Save, and then on Publish in the upper right corner;

11

Head to the Cookie Consent page with your domain listed and click Preview under the Consent Banner column;

12

From here, navigate to the Consent Code tab to view the Head & Body of the cookie consent script (CSS) code.

At this point, you can use this CSS code to deploy directly to your Squarespace domain or toggle to other additional tabs, such as the Customize Banner & Preference Center, to alter other cookie banner-related details, such as translations and which geographical locations the banner is visible in. Additionally, from the Consent Frameworks tab, you can enable the Global Privacy Control (GPC) consent framework across your domain.

Once you have the cookie consent script, follow these steps to deploy it on your Squarespace domain:

1

Log into Squarespace;

2

(Optional) Disable the Enable Cookie Banner configuration;

3

Enable the “Disable Squarespace Analytics Cookies” configuration

4

Disable the “Enable Activity Log” configuration

5

Navigate Settings > Advanced > Code Injection;

6

Add the published cookie consent script to the Header section;

7

Click Save.

What's
New